Improving Living Space with Universal Design

 The concept of universal design continues to gain acclaim and prominence among architects, contractors and homeowners. With the growing demand for products that are accessible and functional; these products are becoming more attractive and appreciated.

Ron Mace: architect, is credited with creating the concept on an international level. The formal definition of universal design stated by Mace is “the use of products, spaces and anesthetics to the greatest extent possible, regardless of status, ability or age.

The universal design concept changes the design paradigm of expecting people to adapt and function according to design. The new human-centered design employs products and design to support lifestyle and circumstances as we currently live. Additionally it must adhere to differences in human factors while utilizing appealing aesthetics.

Universal design concept  targets the entire population, considering that changes occur over the life of the home and its occupants. Conversely, aging-in-place refers to environmental modifications that support the aging process as it advances.

The baby boomers finding: aging-in-place more desirable and the drive to reduce environmental impacts have both contributed to the growth of universal design. When a home’s design utilizes Universal design it reduces or eliminates the need of modifications later in life. This makes universal design products not only a smart choice for seniors but for children as well.

Home appliance and plumbing manufacturers continue to produce more products to enhance safer, simpler and more comfort while retaining beauty.

Universal design – Bathroom

One of most critical spaces in the home for safety is the bathroom. There are countless products from shower to lighting to keep the bathroom safer for all occupants.

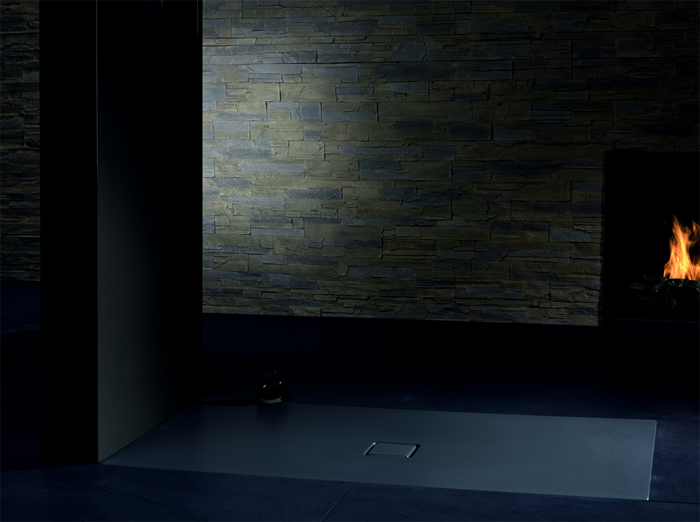
Zero-threshold shower bases

  • European style with a seamless and beautiful shower.
  • Flush with the floor and often feature a trench drain to contain water in the shower area.
  • Easy access for foot and wheelchair traffic.
  • A slip-resistant, textured floor to help prevent shower accidents .

Grab bars

  • Tub or shower area
  • Next to the toilet provide safety and support for anyone.

Night lighting

  • Easier navigation without assistance at night.
  • Increased room color contrasts to offset decreased visibility.

Tub

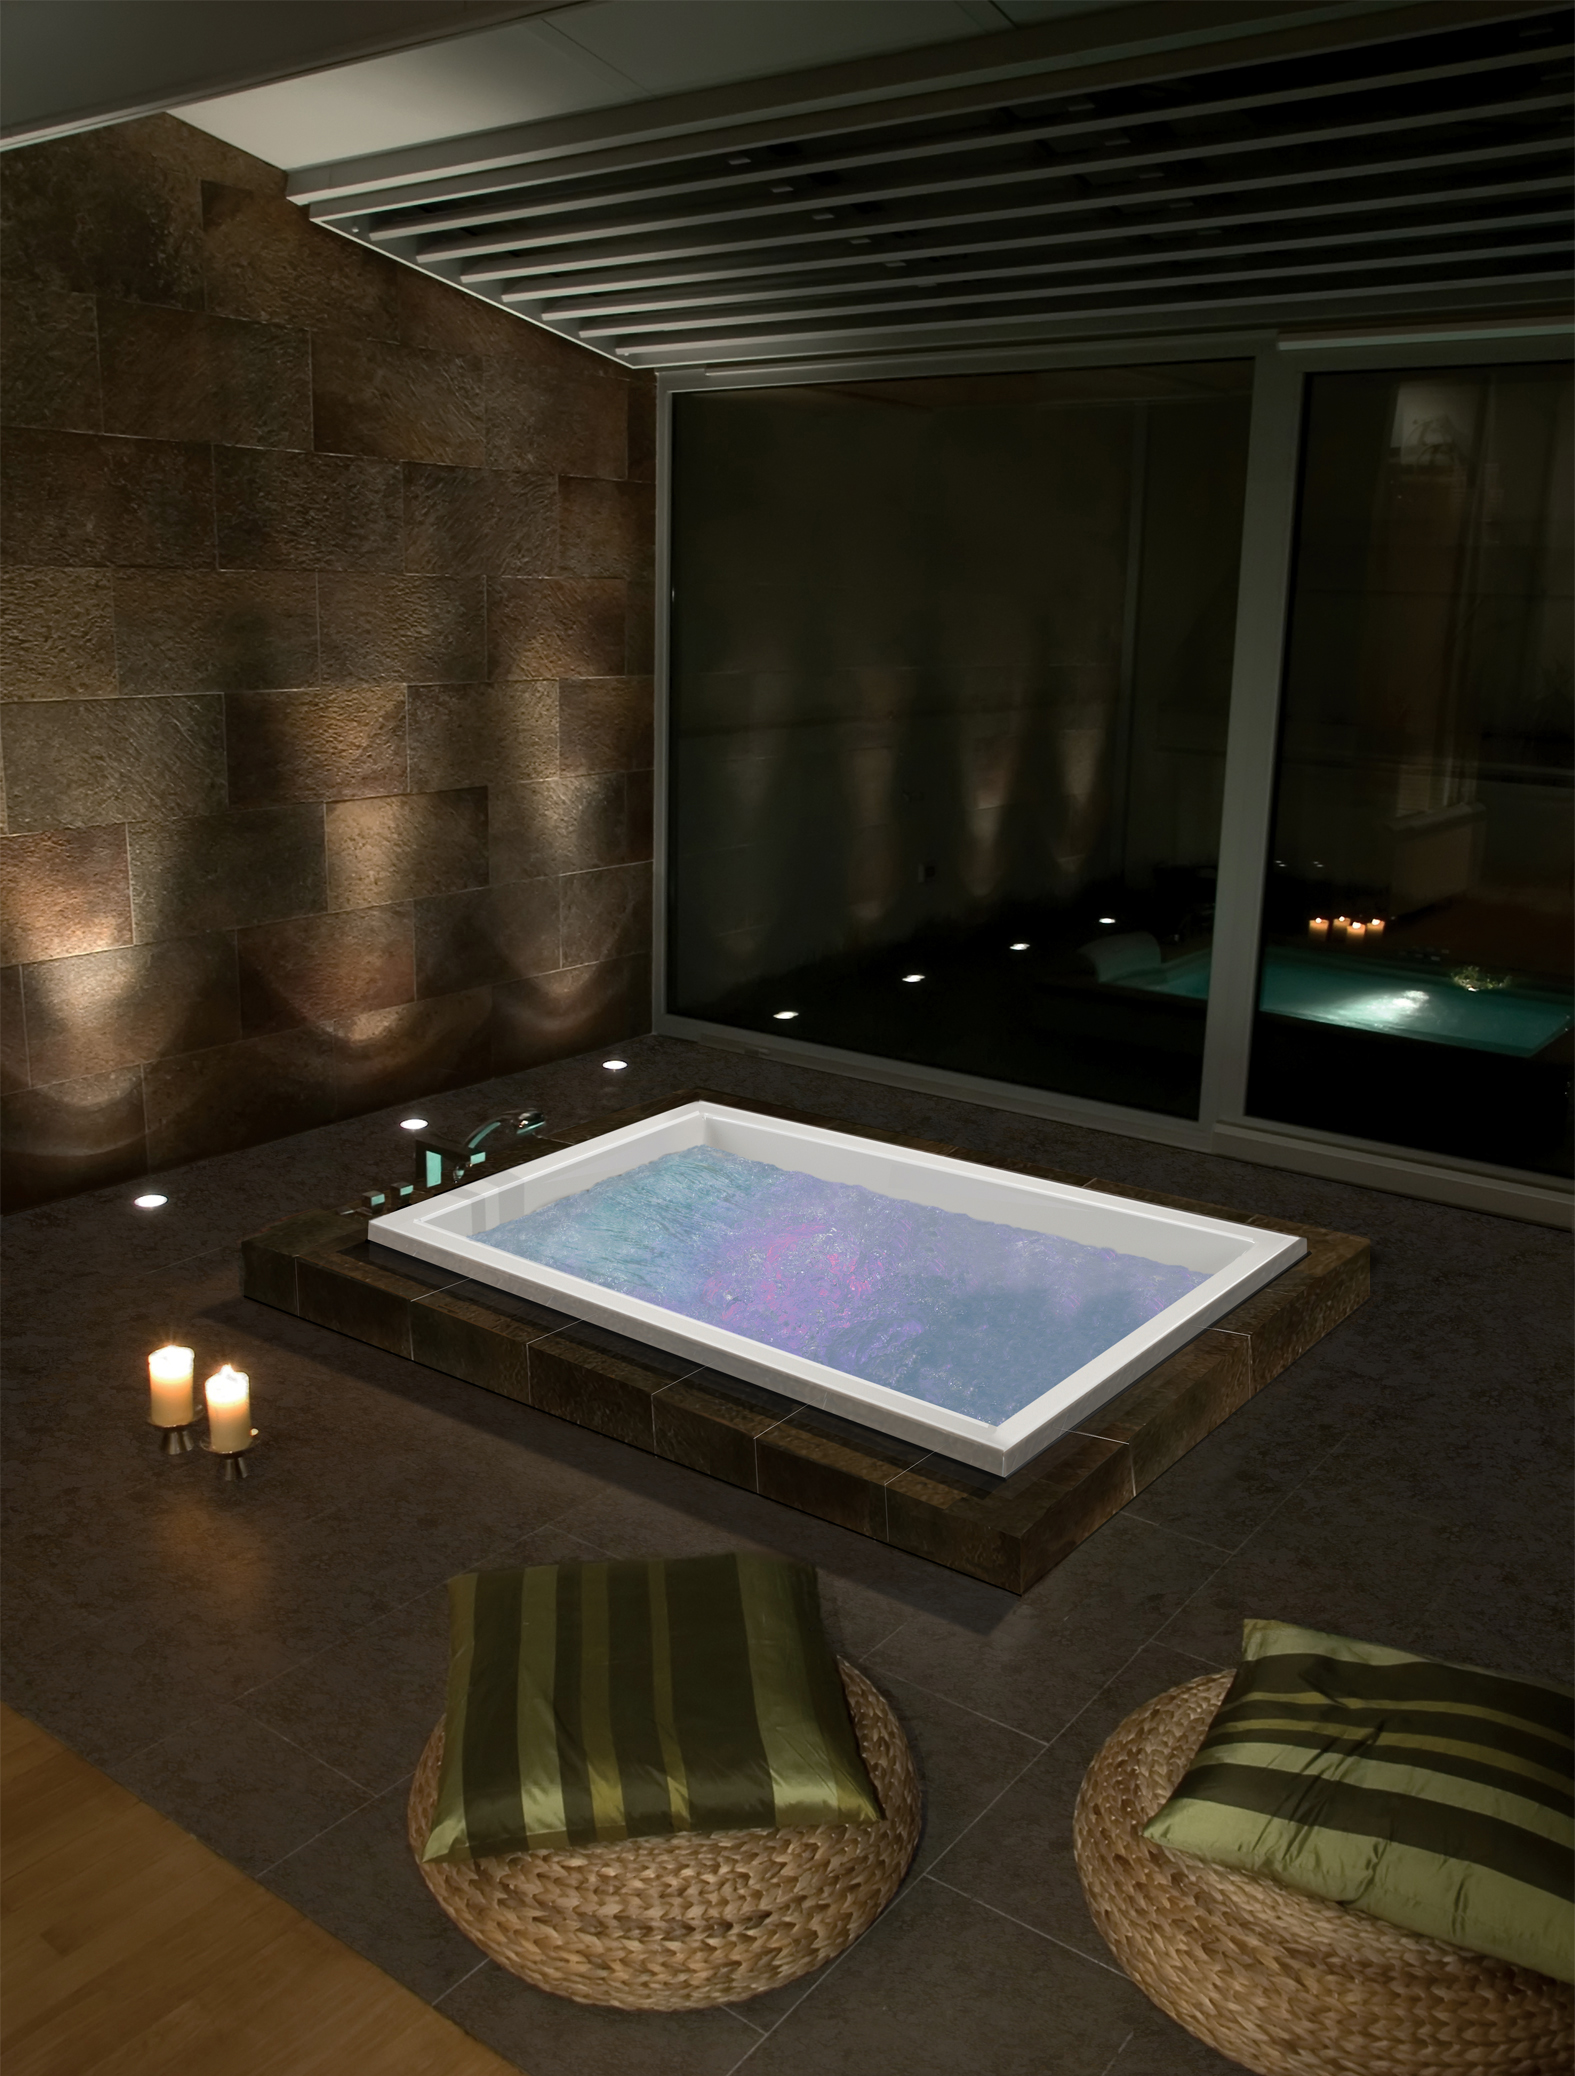
  • Ledge or seating on tub edge adds improves ease in maneuvering in and out of the tub.
  • Providing an area for caregivers to sit. This feature can enhance the bathing experience for young children who need to be supervised or an older adult who requires a more accessible bathing solution

In keeping the universal design concepts in mind, manufacturers are producing more design options and flexibility to coordinate the aesthetics with faucet and share textures and as decorative or functional components.

Universal design – Kitchen

Kitchen lighting, accessories and appliances have seen incredible design improvements to make them more intuitive, easier and safer to use.

Dishwashers and refrigerators can now be built into drawer spaces for easier access. In addition, induction countertops are more energy efficient and offers improved safety compared to conventional stoves. Induction stove surface remains neutral during cooking and the cooktop is shallow so it may create space for wheelchair users.

Counters

  • Empty space under countertops around sinks or cooking areas is great seated access and flexibility.
  • Lower countertops and sinks give easier access to children and wheelchair users.
  • Roll-out shelves or drawers make it easier to see and reach items stored in lower cabinets.
  • Pull-out counter underneath a built-in single wall oven makes transfer of hot dishes or pans from the oven easier.

Hands-free or touch-activated faucets promotes easier to use for children individuals with arthritis or compromised strength. To conserve water, many have a automatic shut-off.

With universal design; beauty, safety, convenience and independence can all be improved for all household members.

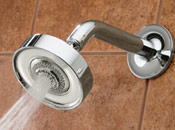
How to Buy the Right Showerhead for You

When most people think of  showerheads they think “a shower is a shower!” Oh contre…on average we spend 80+ hours a year in the shower. So a shower really is a quick invigorating boost, a relaxing massage (especially for those aching, sore muscles), a refreshing cleanse, or a much-needed retreat.

Have you ever replaced your showerhead? If you have, you probably went through weeks if not months of contemplation and procrastination…or just went with whatever and ended up regretting your haste. It’s actually a very simple process, and with a few tips you’ll be able to get the perfect showerhead for you and your household. Here is a simple guide to help you buy the right showerhead.

Hand held vs. fixed

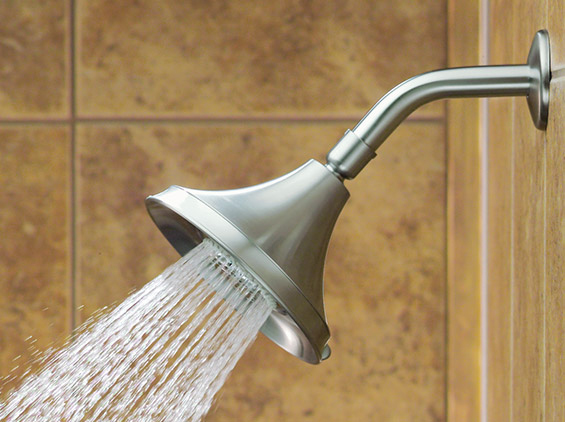
Fixed showerheads are attached to a shower arm and mounted permanently to the wall. Hand held showerheads are attached to the wall with flexible tubing, which makes it easier to maneuver water where you want it. The head can be placed in a cradle to serve as a conventional wall-mounted shower. Hand showers are ideal for washing children, pets and easier shower cleaning.

Height: If there is more than one person using the same shower, the fixed or mounted heads should be high enough for the tallest person. The ideal in this situation is mounting the head to an adjustable arm or a slide bar.

Spray patterns

Emphasis on spray patterns is extremely important as this determines the comfort level of your shower. Spray patterns vary from the most common full-body shower to combo spray patterns such as:

  • Full body sprays relieve muscle tension
  • Messaging pulse sprays use pulsating jets to relieve stress.
  • Power sprays concentrate a stream into a small area for fast rinsing.
  • Mist sprays provide a cooling and invigorating effect.
  • Drenching rain sprays provide even body coverage for people of all heights.
  • Combo spray mix from jets with pulsating streams to soothe and revitalize.

Many showerheads today combine all of these and any combination in between with a twist of a dial.

Water volume 

The volume of water greatly depends on the showerhead.  The average household single-head shower uses at most 2.5 gallons of water per minute. Today there are also several options for showerheads which use less water, are  more eco-friendly, and still provide the same level of luxury.  Just as important as water use is the size of your pipes. Most homes have half-inch pipes, but  three-quarter-inch pipes are also available which afford larger shower systems that require more water to be moved.

Size and comfort

Large showerheads are modern bathrooms fashion.. Showers have become an intricate part of interior architecture in todays bathroom. Large showerheads also gives you more freedom to move and a much more sensual experience, such as the Raindance or Rainfall by Hansgrohe)

Environmentally friendly 

Enjoying water does not necessarily mean increasing your consumption. Trendsetting shower technologies have reduced water consumption by up to 40%. Reducing your hot water consumption also reduces your energy consumption, meaning fewer CO2 emissions and lower costs.

California residents:  make sure you follow the states Eco rules and regulations!

With these simple tips and a little shopping you’ll surely be able to find and buy the right showerhead to complement your decor and bring you years of satisfaction, invigoration and relaxation.

How to Install a Glass Tile Kitchen Backsplash

Greasy or sauce-laden splashes are a pain to clean off of painted walls, but with a properly installed tile backsplash, cleanup is a breeze! Glass tile is a particularly good choice not only because it is beautiful, but is extremely stain resistant and wipes clean with little to no effort. Here is how to install a glass tile backsplash in your kitchen.

Continue reading →

Review of Autodesk Homestyler Application

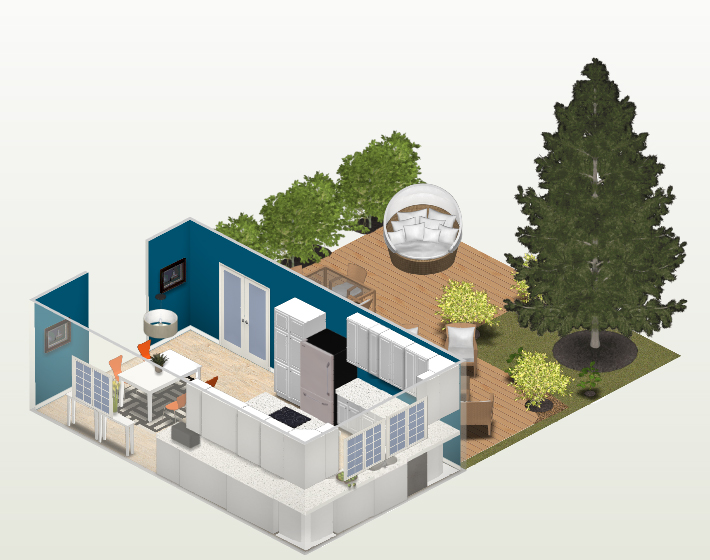
Autodesk HomeStylerAutodesk Homestlyer is a free application that allows users to create and share home designs in 2D and 3D. You can build and design the room of your dreams with a few simple clicks. Or if you prefer, you can redesign your own current living space. See how the couch you’ve been eying would fit in with your curtains. Or see how that bathtub and sink you want to redesign your bathroom with will fit into the space you have. Do it all here and so much more.

This is an excellent tool at the best price possible: free. The system offers deep customization with color, texture and actual objects. The images are reminiscent of the Sims, with a slightly more realistic edge. Users can view a birds eye perspective for layout purposes or lower themselves closer to the floor for an in-the-room perspective. The available products and decorations are real items that can be purchased. After completion, users can even take a high resolution screenshot of their future project.

This innovative tool is all about visualization. Floor plans include color and texture so the user can get a good perspective on how each combination of items, flooring, walls and more will look. The system is very easy to use, with a drag and drop interface that dramatically decreases the amount of effort it takes to learn how to use it.

You can choose to start from scratch and create your own floor plan to mirror your current one or the one of your dreams or you can choose a floor plan from the extensive design gallery to toy around with. Add, delete and move around flooring, fixtures and even furniture to create your dream room. The Design Gallery allows you to see real life photos of the room plan that you will be looking at and toying with.  You can create, move and design everything from the floor, walls, furniture lay-out and even the landscape outside the room. This application is truly amazing in how in-depth it is.

From Duravit to Kohler, many of your favorite brands and manufacturers are featured in this application. Instead of going to your local hardware store and wonder how that counter top will look in your kitchen, you can use this application to lay out your kitchens current floor plan and add your favorite counter tops. Why stop there, see how that neat looking sink will look with your new counter tops, even decorate the walls. You can totally transform your entire kitchen, living room, bathroom, bedroom; the options are endless.

Anyone who is going to be doing some home remodeling in the future can really appreciate Autodesk Homestyler. The system is very easy to use so a realistic visualization can be constructed quickly. The user can even view from different perspectives and try adding real life products.

Farewell to Extreme Makeover: Home Edition

After 8 years of heart-warming, inspiring Extreme Makeover:Home Edition episodes; which helped over 200 needy families fulfill their much needed home makeover dreams; we here at Plumbtile say good-bye. There will not be a dry eye in the house after the last episode premiered Friday 1/13/12.

‘Extreme Makeover: Home Edition’, lead by the ruggedly handsome, Ty Pennington, accomplished something never seen before on TV; helping families in need fulfill their dreams of having a safe, warm and, gorgeous place to live in. The families helped on this show not only were in need but more times then not, were contributors to their community that has fallen on hard times. Families that lost their father or mother, family members that became handicapped and needed a home to accommodate them, a total of over 200 families in all; were helped by various generous volunteers and donations from many local and national businesses.

The final episode of Exterme Makeover: Home Edition feartured the Hall family, of Wichita, Kan.; whose patrich was left paralzed after a near fatal car accident.  Since this accident was so sudden, the Hall’s home was not handicapp accesible, making it hard for Mr. Hall to get around and even harder for the family to cope.

In the 8 years Extreme Makeover: Home Edition was on air, Kohler  partnered with this popular television series which has helped to provide home renovations for deserving families. In total, the company has been involved in 621 bathrooms, 226 kitchens and 113 powder rooms making up 185 homes over eight years on the show. That is just amazing! The final eposide that aired Friday, Thanked Kohler for all of it’s support over the years in making the dreams of so many come true.

In a press statement provided by Kolher Todd Weber, communications director of product public relations for Kohler Co. stated; “Kohler is extremely proud of its longstanding relationship with ‘Extreme Makeover: Home Edition. To be able to play a part in changing a family’s life by helping renovate their home is incredibly rewarding. Seeing our products make everyday life easier and more enjoyable for these families is exactly what Kohler’s mission of gracious living is all about.”

[youtube http://www.youtube.com/watch?v=JKugG0lrh-w&w=420&h=315]

Holiday Tip: 10 Ways to Relax in 10 Minutes

The idea of the holidays as portrayed by commercials and Christmas carols is to relax, enjoy time with your loved ones, and be happy. Unfortunately, the reality for many is that this time of year is the most stressful. Between traffic, shopping, unruly children, and debt, it is very easy to fall into a a pit of distress. Stress, however, is a surefire way to ruin your health and create bad memories during what is supposed to be a happy time. That is why Plumbtile would like to impart our top ten tips for relaxing in ten minutes.

.

10. Dim the lights

Bright or harsh lights affect our brain in ways we may never realize consciously. It causes our brain to be more active and alert , which can be bad news when we are dealing with stress. To combat this, try lower the lights in the room you are in for 15 – 20 minutes. Don’t have a light dimmer installed? Try turning off the overhead lights and switching to elegant candlelight for a while.

.

9. Sip a hot drink

Just the act of holding and slowly sipping a hot beverage can melt away the tension in our shoulders  – where most of us store our stress from the day. You can drink coffee, tea, hot cocoa, or even a warm cocktail to soothe your nerves in no time.

.

8. Listen to something different

When our minds are traveling at a million miles per hour, the background noise around us can add to the chatter a really crank up the stress levels. Whether you are sitting in a noisy office or listening to another awful Christmas song remake, try putting on some of your own soft music or going to another area to change the noise. Sometimes we don’t even know what is bothering us until it isn’t there anymore!

.

7. Buy small gifts to be opened right away

Believe it or not, this is still the season of giving, and doing something nice for yourself or others can really brighten your entire day. Instead of worrying about all the big ticket items you can’t afford, buy a few simple gifts that you can have loved ones open right away, or treat yourself to a small gift. This will re-center you back to the spirit of the holidays and remove you from the stress surrounding them for a while.

.

6. Take a power nap

In many countries, businesses close down for an hour or two in the middle of the day for nap time…proving that you can never be too old for it! You may not have that luxury, but you may be able to squeeze in some shut-eye on your lunch break or just after work. Studies show that even 20 minutes of rest (whether you sleep or not) can recharge our batteries and eliminate stress.

.

5. Meticulously plan your dream home

Escaping reality in favor of big dreams can be fun. Allow yourself an hour or two to go all out planning your dream home, kitchen, bathroom, den, etc. Lose yourself in the planning, magazines, products, and more. Just be sure not to use the time to compare what you have to what you want – this is meant to be an escape!

.

4. Use the massage setting

Taking a shower is something most of us do everyday anyway, so why not allow yourself 5 – 10 minutes to completely relax while you do so? Whether its the end of your day or the beginning, indulging in the massage setting of your shower can do wonders for your mental health. Don’t have a massage setting? Then it might be something to ask Santa for! Consider a budget-friendly shower head with multiple settings.

.

3. Organize your desk

Taking even ten minutes to organize your desk, dresser, or counters actually relieves stress in two ways. First, it allows you to forget about your worries and focus on the task at hand for a few moments. Second, seeing less clutter makes you feel instantly better. Taking ten minutes a day can build this stress-free habit up to become your saving grace!

.

2. Do nothing

During the constant rush of the holidays, many people forget the kind of power that lies in just doing nothing. Even if you simply stop for five minutes, your mind is allowed to reset. Once you start up again, you will be able to function on brand new batteries. To get the most out of doing nothing, pick a room to retreat to, set a timer and sit or lie comfortably. Think to yourself only “think nothing” and concentrate on breathing in and out deeply.

.

1. Take a hot bath

Just the act of running a bath has the ability to alleviate stress, and lying in one for even a few minutes allows us to just let go of the worries of the day. Be sure to step into a clean tub and maximize the effect with dim lighting and comforting smells such as lavender bath salts or holiday candles.

4 Dos and Don’ts to Creating a Romantic Bathroom

Plumbtile loves bathroom themes and unique decor/remodels, but it is important to do these the right way. A remodel is meant to improve the look and function of a room, not alienate it from the house! Here are 4 of the top DO and DON’Ts of creating a romantic bathroom.

DO create the right color palette using complimentary tone
It is important to use colors that complement each other well when choosing your color scheme. The mind does not process colors well when they are all mixed together and this can lead to a feeling of stress or restlessness. Variants of colors within the same primary color group work well together, as well as colors next to each other on the color wheel. For a bolder color scheme you can choose colors that are across from each other and they will work well together also.

DON’T overdo it on the red and pink
Although the first colors to come to mind when a person thinks of romance are often red and pink, you do not want to overdo it when it comes to your bathroom. Red is a very strong, bold color. Too much of it is hard on the eyes and can cause you to be unsettled. Try painting a red accent wall on the wall you wish to stand out from the rest. It will become a focal point so choosing the right one is important. Too much pink can cause a dull appearance, so it is a better choice to use pink accents in your decorating.

DO use candles and accessories
Candles are a wonderful way to easily create a romantic atmosphere. Position small pillar candles on top of a glass candle holder near the bathtub or on the vanity along shelving that is underneath a mirror. Tea lights can also be set around the tub area to provide a nice glow off of the water. Including items such as lotions, bath salts, or a small clear glass jar of rose petals will bump up the romance factor also.

DON’T overload on fragrances
Fragrances are a wonderful way to give your romantic bathroom that extra bit of spice, but be careful not to put out too many different aromas. While they may smell perfect on their own, mixing them together can be very unpleasant. Subtly goes a long way when it comes to fragrances.

DO look for interesting tub, shower, faucet, and accessory designs
The use of unique fixtures and interesting designs will make the room feel special and give you the sense of being in your own little romantic oasis. You can also center your design around these items to create a well put together bathroom.

DON’T expect anything from standard designs
Standard “stock” designs and bathroom pieces do not allow for you to show off your own personal style and personality. If you make use of standardized items you are denying yourself of a much more romantic sanctuary when compared to using unique pieces. You want to create a special and relaxing atmosphere, so do not be afraid to search around for specialty items.

DO install ambient lighting
The use of ambient lighting throughout your bathroom should be at the top of your list for a romantic setting. The lighting sets the mood and brings out the best in your accessories and design. Hanging wall sconces that are on a dimmer switch is an easy way to achieve the perfect amount of light for your mood. Recessed lighting is another great option.

DON’T install ONLY Ambient Lighting
It is important to remember that you will not want the “romantic” lighting at all times in your bathroom. Installing task lighting especially near the vanity is necessary for everyday bathroom instances such as putting on makeup or shaving. You may love the soft glow of the ambient lights, but when attention to detail is key you will want another option.

Remodeling to Cal-Green Standards

Plumbtile would like to remind all contractors and homeowners: If you are building or remodeling in California, you must check the new requirements of Cal-Green. These standards were updated in 2010 and are published every 3 years. It is important to note that your city or county may enforce more restrictive guidelines than what is required according to Cal-Green standards.

Cal-Green standards are set to ensure that all building construction in the state of California works to enhance the health, safety, and welfare of the general public. Cal-Green standards address the planning and design, energy efficiency, water efficiency and conservation, material conservation and resource efficiency, and environmental quality of all construction projects.

In regards to plumbing, the Cal-Green standards code applies to the installation, alteration, repair and replacement of plumbing systems, including equipment, appliances, fixtures, fittings and appurtenances where connected to a water or sewage system. Although it states that it is for new construction, Plumbtile has found some cities are enforcing it for remodel as well. Check with your city inspectors to confirm.

These standards work to ensure that proper drainage is in place in order to protect the building from having water enter the property. Also, a green building must have products that are 15% more energy efficient than the standard state requirements. All plumbing fixtures must show a reduction of water usage by 20% from standard requirements. And, all plumbing fixtures must meet the standards as outlined in the Cal-Green code as well.

These standards require that at least 50% of the materials used during construction be recycled or reused in order to further protect our environment. So, it is important that you be familiar with how your construction team is disposing of materials throughout the construction process in order to maintain Cal-Green standards. Adhesives, sealants, and caulks must also comply with local or regional air pollution control or air quality in order to meet these standards.

Valli & Valli Brand Showcase

 Here at Plumbtile, we offer more than 100 different brands to help you make your home your sanctuary.  We understand that it can be difficult choosing the right hardware to meet your needs while capturing your style at the same time.  One of our favorite brands for your door and cabinet hardware is premier Italian designer, Valli & Valli.  A sample of their products is shown here.  All Valli & Valli products are of high quality and elegance made especially for your home.

This 30mm polished brass finished cabinet knob is sure to bring a touch of class to your home.  Give the appearance of top designer quality to your cabinets, without the high end price.  The knob will quickly give your cabinets a facelift to enjoy for years to come.

Are you looking to add a sleek finishing touch to your bathroom door?  Look no further than this Valli & Valli VCR door lever.  There are several finishes to choose from to show off your personal style!

Valli & Valli Ecostile door knobs make a great addition to any home.  The simple yet precise design, make for a product you can count on for daily use throughout the years.

Does privacy seem like a thing of the past around your home?  If so, then this Valli & Valli Fusital door lever may be the answer you’ve been looking for!  Designed with privacy in mind, while never losing its modern flare.

The front door is the gateway to our home.  Why not give company the luxury of a designer door knocker when coming to visit?  With a Valli & Valli door knocker, your guests will feel important right from the start!

Space saving pocket doors deserve to look their best too!  With these Fusital privacy pocket door openers, you can’t go wrong.  Convenience and style go hand in hand with Valli & Valli pocket door openers.

DIY: Replacing Your Kitchen Cabinets

Replacing your kitchen cabinets can seem like an overwhelming job that is best left to the professionals, but with time and patience, you can do your wallet a favor and attack this job on your own! The following guide will help you down the path of achieving the kitchen cabinets of your dreams.

Supplies Needed:
• Premade cabinets • Measuring tape
• Level • Phillips and flat-head screwdrivers
• Shims • Hammer
• Stud finder • Drill with drill bits and screwdriver attachment
• Hole saw • Screws
• Trim • Finish nails
• Chalk line • Utility knife
• Safety glasses • Flat pry bar

Step One: Preparation

Carefully remove the old cabinets from the walls by unscrewing them or prying them away if necessary.  Once the old cabinets are down, you will need to fill in any holes in the wall before proceeding.  This is also the time to paint or add any additional features such as an electrical outlet or a dishwasher hookup.


Step Two: Installing Upper Cabinets

Start by removing the new cabinet doors if they aren’t already detached.  Next, measure 54” above the floor to where the bottom of cabinet will rest (standard height.)  Using the chalk line, mark the wall at the correct level.  Starting with the corner cabinet, hold cabinet in place (2 people is preferable for top cabinets,) and drill a starter hole, then attach cabinet with wood screws at the studs.  Double check that cabinet is level before continuing with remaining upper cabinets.  Using a clamp to hold cabinets together while drilling may be helpful. Attach cabinets together with wood screws through frame trim for stability.


Step Three: Installing Base Cabinets

Set the first cabinet in along the floor and check to be sure it is level.  If not, gently tap wood shims along each side until it is level.  Continue to attach base cabinets using the same methods as the upper cabinets.  When placing the sink cabinet, check sink measurements to ensure pipes and sink base will properly fit into cabinet with door closed.  Cut out any holes in sink cabinet floor to accommodate plumbing. Also double check measurements of any appliances that will separate cabinets for proper fitting.


Step Four: Attaching Trim and Filler Shims

It is now time to add any trim or molding to your cabinets.  Using a level and wood screws, carefully attach the trim, making sure not to drive screw through the inside of cabinet.  Once done, use your level to double check each cabinet for gaps or openings and fill with wood spacers or shims.


 Step Five: Attaching Cabinet Doors

You are now ready to attach the cabinet doors and any hardware.  Using the hardware that came with your cabinets, carefully attach the doors to the cabinet frames, double checking that they are level and open and close freely.