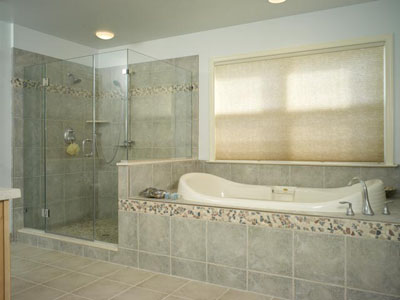
 Home renovations can be very daunting. This is because any home remodel project has the potential to become a stress filled, overwhelming, money sucking task. But, if you carefully plan your remodel from start to finish, you will be better prepared to handle any issues that may come up. So take a moment to plan your project and you will soon be enjoying your transformed space with a sense of self satisfaction and pride. Plumbtile offers some great products to help make your renovation project go smoothly. Continue reading →
Affordable Shower Temperature Control is Within Reach
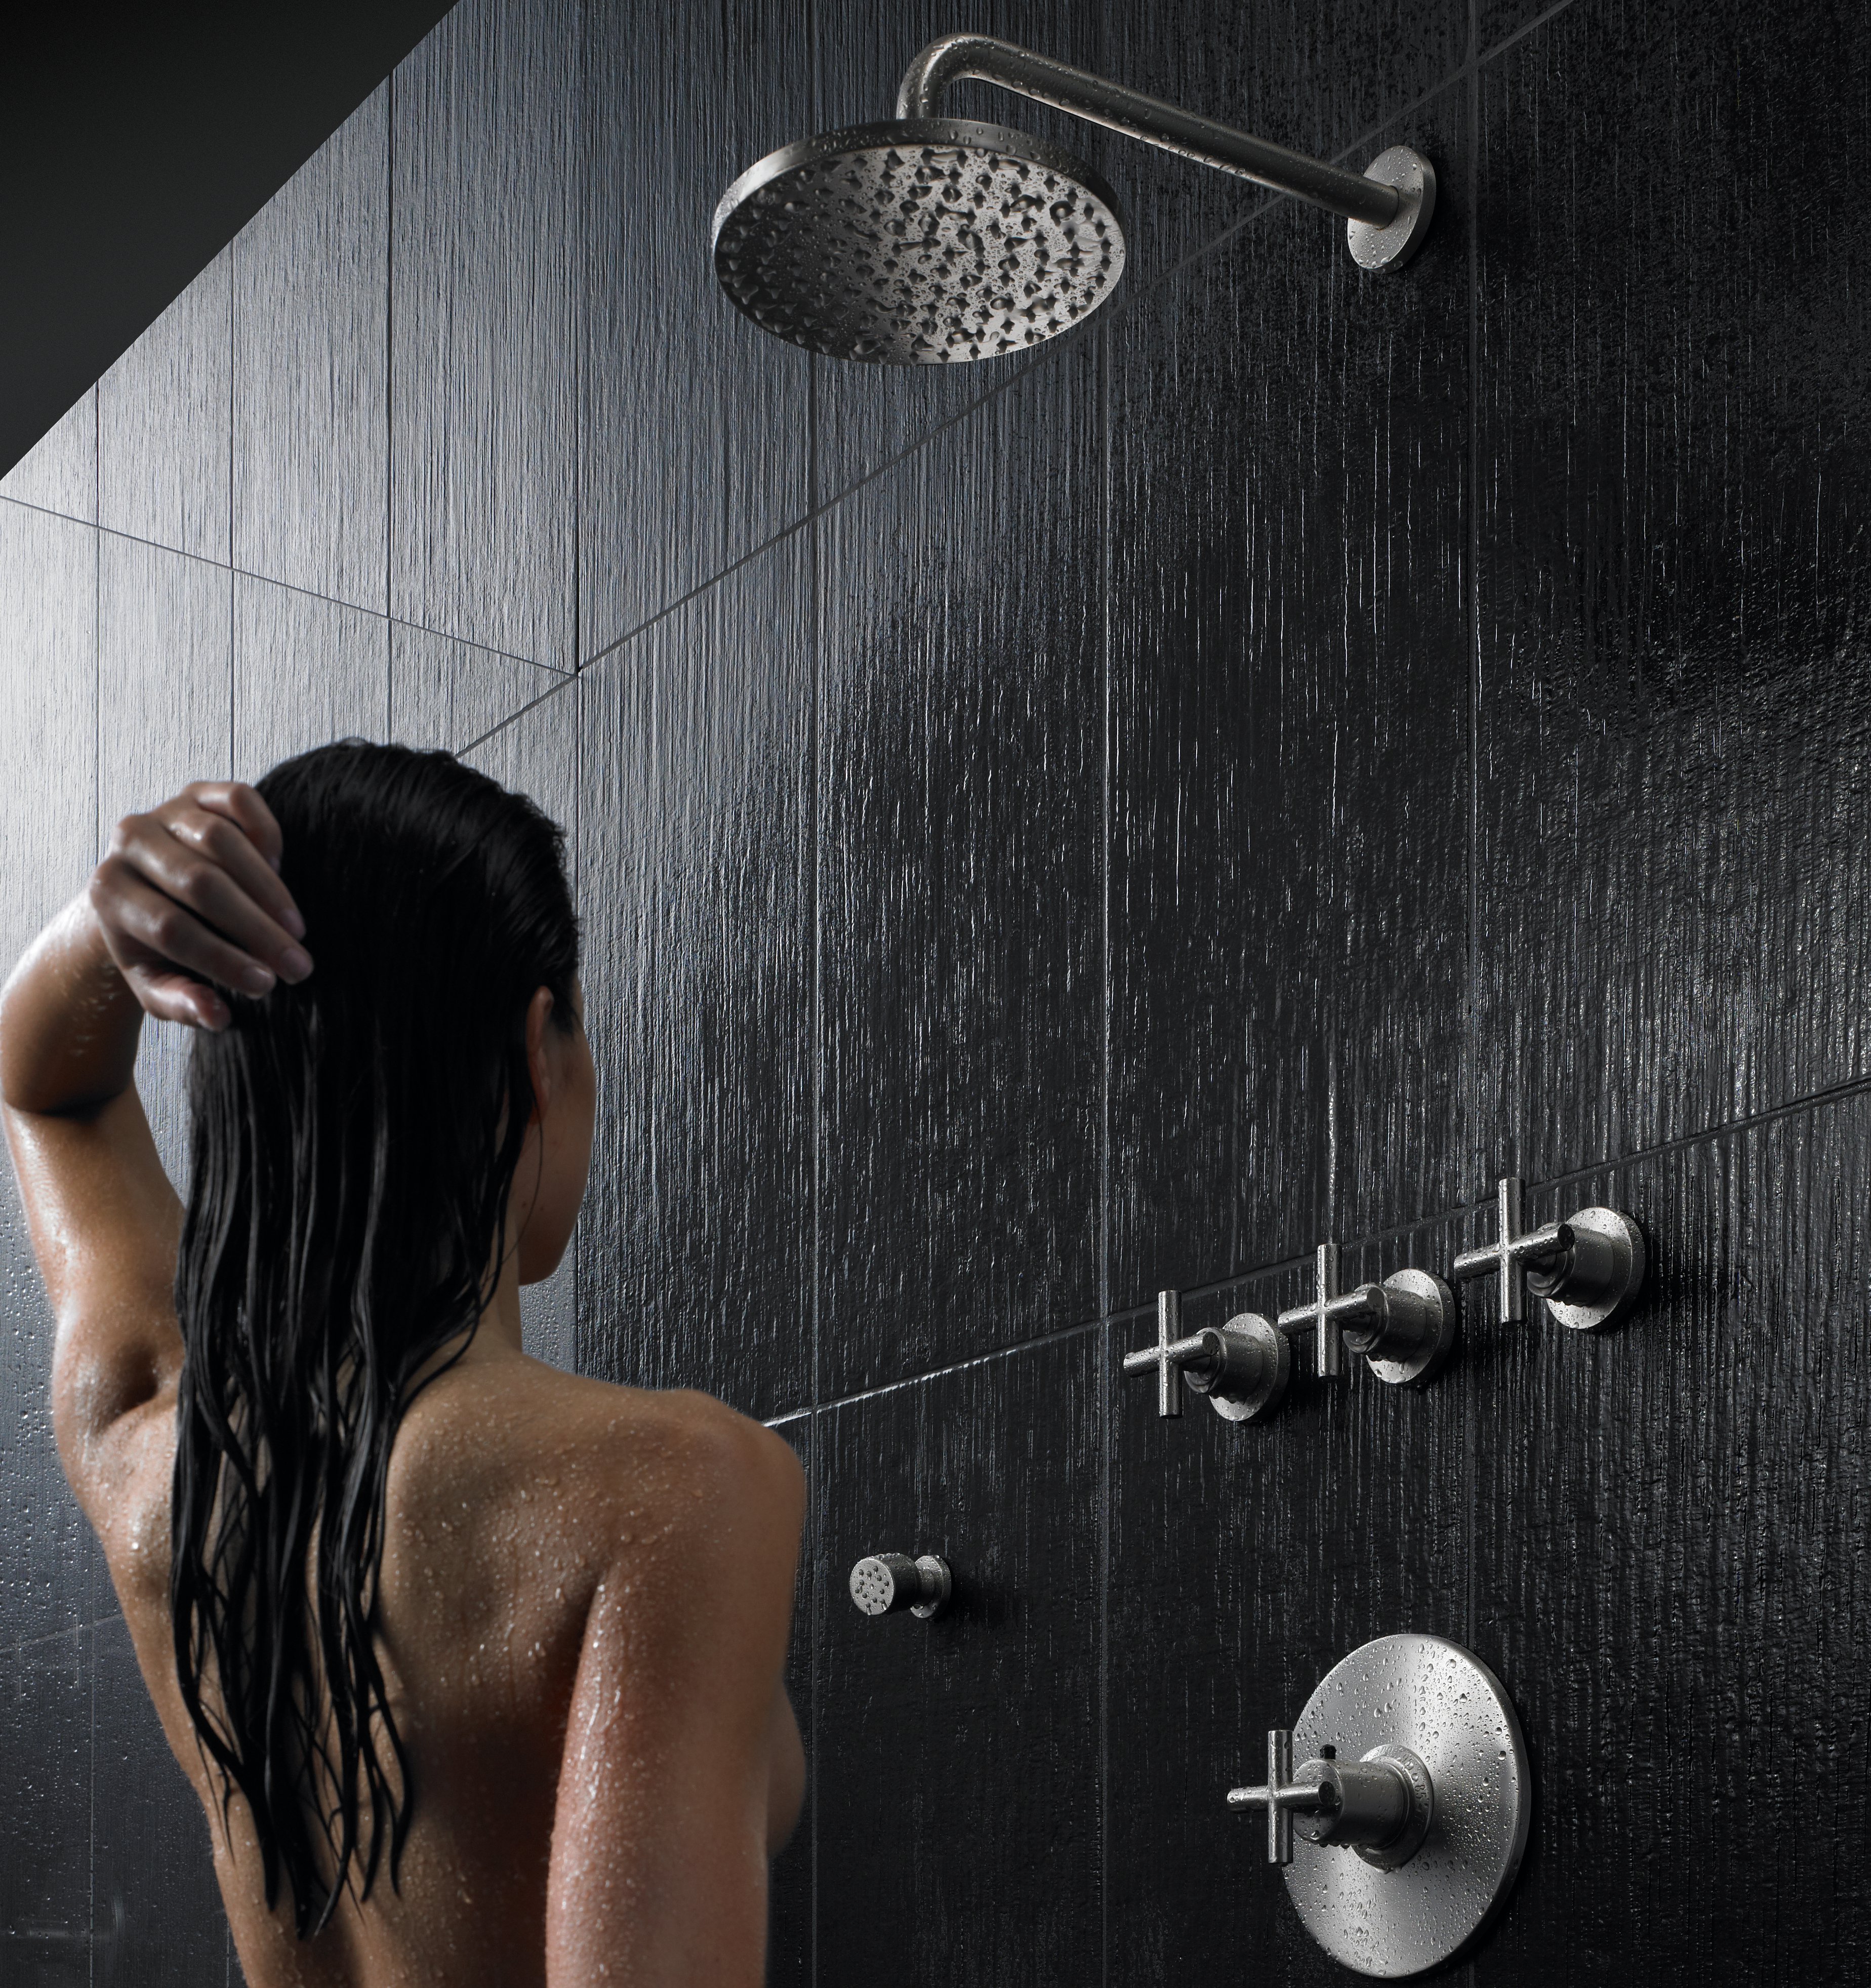 Plumbtile has always prided itself on offering affordable luxury, and now with the help of California Faucets, we can bring you the best in shower temperature control at an affordable price.
Introducing California Faucets StyleTherm technology. StyleTherm is a revolutionary thermostatic technology which allows the ability to dial in your preferred temperature and independent control over multiple devices. StyleTherm also features a temperature override option, which is a safety feature that protects the entire family – including children and the elderly.
While the idea of thermostatic technology and temperature override are not new, the true development of StyleTherm is the pricing. Because California Faucets designed and engineered StyleTherm from scratch, they created a proprietary thermostatic valve of unmatched quality and performance that puts it within the budget of the average household.
This is a great gift idea for several people on your holiday list. Rather than a gift basket for your grandmother or restaurant gift cards for the in-laws, give a gift they can appreciate all year! You can see the complete California Faucets line available at Plumbtile here.
6 Steps to Renovating on a Budget
[youtube=”http://www.youtube.com/watch?v=m-fb1Fi5Fkw”]
Combining Rustic Charm With Innovative Design
With so many luxury brands which focus on design, it can be difficult to choose! If you are look for a vintage look without sacrificing quality or the ecosystem, here are two of our favorite providers. Look for the EPA partnership to ensure your purchase go towards a water-conserving product!
Graff
With industry-leading designs and concepts like floor-mounted tub fillers, Graff serves up a large variety of options for contemporary, classic, and transitional design.
The Canterbury floor-mounted tub filler from Graff is just one example of their eye for vintage design, This Victorian style filler is mounted to two sturdy floor pillars, which gracefully support the bridge mounted hardware-typical of Victorian styling.
The handshower includes an optional ceramic handle insert, and the collection is available in polished chrome, Steelnox satin nickel, olive bronze, polished nickel, neo brass and antique brushed nickel to give a wide breadth of options to choose from.
.
 Newport Brass
Every Newport Brass product is constructed of solid brass, features quarter-turn ceramic disc cartridges, stainless steel braided supplies and 3/4″ Roman tub fillers. The price fluctuates by finish, of which there are 26.
Every Newport Brass faucet is custom-made to your specifications, and each design in available to mix-and match for a limitless variety. Many of the faucets feature an intrinsic vintage look, but it is up to you to decide which brand of classic is your favorite.
These are only two of the list of brands available at Plumbtile which not only provide superior design and quality, but help you make the transition to green living easily.
Kitchen and Bath Style Ideas From Kohler
Kohler is known for its innovation and design ideas which stem mostly from natural sources – the drama of a lotus flower can easily be turned into a faucet or showerhead in the minds of the Kohler artists.
To help us use their products in a way that suits our own needs and tastes, Kohler also presents kitchen and bath showcases to inspire our own interior design. Below is a video of one modern-yet-classic kitchen with warm and inviting colors and seamlessly integrated fixtures.
[youtube=http://youtu.be/pYNUN14AxDw]
Of course, the bathroom is not to be forgotten! While it may be one of the smallest rooms in the house, the bathroom creates quite an impact on the entire feel of your home, and really says a lot about you! You want your bathroom to send the right message and be a space that you simply love. With all of those water-consuming features, it is also more and more important to think on green alternatives. This video showcases some of Kohler’s finest ideas in the green living movement.
[youtube=”http://youtu.be/jfCmT4et1gI”]
There are, of course, many brands who have begun to manufacture their products to be more eco-friendly, so pairing a water-saving Kohler toilet with tile, glass, faucets, and showers from other brands to create your very own look is not a crime! Some of our favorite green companies can be found on this page to give you unlimited possibilities.
Who Wants Free Starbucks?
For a limited time, Plumbtile is offering a FREE $5 Starbucks card to every person who likes the Facebook page. When you go to www.facebook.com/plumbtile, you will be presented with the details of this giveaway. No catch – just like and get your card!
Note that these cards are delivered electronically, so please be sure to provide the email address you want them sent to. We can’t deliver them without it!
Benefits of being a Plumbtile fan:
- Photos of events and hot new products.
- Specs of all the latest up-and-coming designs and company news.
- Updates about our best sales before anyone else.
- Interesting articles and information on “going green”.
- And so much more!
…not to mention that FREE Starbucks card. Go ahead, have a drink on us.
We hope to see you all there!
Top 5 Ways to Create a Spa Experience in Your Bathroom
How awesome would it be to create a spa experience in your own bathroom? After a grueling day at work or wrestling with the kids, wouldn’t you like to relax in a cozy tub or wash away the day in a refreshing shower? At Plumbtile, we strive to offer you that exact experience with the highest quality from top name brands. Here are the 5 best ways to create a spa experience direct from us to you!
1. Large Shower Heads
Large, oversized shower heads are a huge trend today, and not only for their looks and fantastic function. These provide full–body coverage over clean water in fact, many of them, such as Hansgrohe shower heads, use less water than the smaller, traditional models. You can relax easily and guilt-free knowing that you are not harming the environment to do so. You will come out of one of these showers feeling rejuvenated after a tough day’s work – or invigorated to start one.
2. Soaking Tub
For a longer period of relaxing, soaking tubs provide a very unique experience. These are slightly different than your grandmother’s tub, and do wonders to melt away your cares and worries quickly. The designs are almost always edgy and contemporary, but still flawlessly fit into almost any décor or bathroom design. Stone Forest is one of the leading producers of luxurious tubs and sinks. They come in many shapes and sizes, and they will even customize one to suit your specific taste through the use of natural materials such as bronze, copper, and especially stone. As a bonus, they offer matching vanities, sinks, and pedestals.
3. Lighting,
Lighting is so essential in creating the right environment for the full spa experience. Too much light will ruin the entire experience, but you also need more light during other times of the day, so the real trick is placement. In areas where more light is needed, such as around the vanity, don’t shy away from using what you need. To switch from this to lower lighting, use recessed or even underwater lights that are less bright and create more of an ambient glow than a harsh glare.
4. Natural Stone Tile
It’s no secret that here at Plumbtile we just LOVE pebble tile. Not only is it easy to use, but it creates a wonderful and authentic feel to any patio, bathroom, or even kitchen. There are, however, plenty of other options for natural stone tile. If you are not a fan of pebble tile, or simply need something to compliment its use, try options like the Mandala Tile Etrusco Collection to create a neutral, yet pleasing and forward thinking design.
You don’t need to have a large budget to implement just one or two indulgent elements to your bathroom. Something as simple as upgrading your shower head can do wonders. For more ideas, inspiration, and clearance items, feel free to stop by the Plumbtile site.
Do you have an item or design element that makes your bathroom a sanctuary of relaxation? Share it with us by commenting below!
6 Design Tips for Small Kitchens
These days it is not uncommon for a kitchen to be so small that it feels like a mere utilitarian portion of the home. This is especially true in homes like apartments, condos, or cottages. But just as it is possible to “open” your living room up with a few tricks, it is also very possible with small kitchens. Here are 6 design tips to help you!
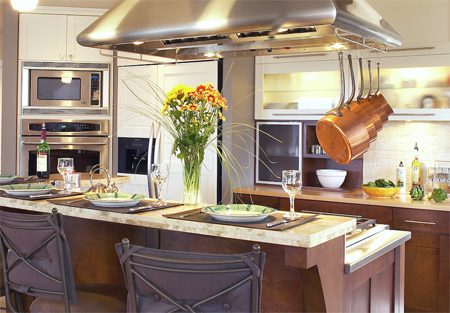 1. Create a lot of storage space
Storage is going to be one of the most important aspects to creating the illusion of an open space. The arch enemy of small kitchens is clutter, so battle it any way you can. Add plenty of drawers, cupboards and even overhead storage space. Make use of hanging racks for pans, glassware, and anything else you don’t have a space for. Whatever you do, keep as much off the counters as possible.
2. Use that “U” shape or island
Many smaller kitchens are shaped like a U or have islands separating them from the living areas. These might feel like ways of making the room more cramped, but when used correctly can actually make the entire area more efficient. Use the U shape by placing all storage along one wall, and the cooking and serving aspect along the other. Islands can be turned into all-stop cooking and cleaning areas by simply adding a stove range, small sink and dishwasher to them!
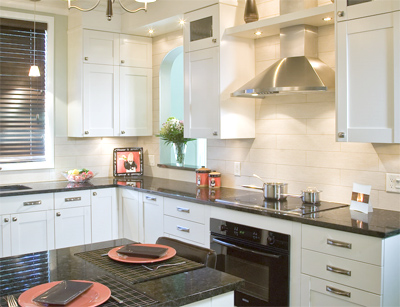 3. Use light colors and a lot of bright, natural lighting
A common trick of interior designers is to use light colors and lots of sunlight to create a spacious, airy feel. The exact same thing can be done in a kitchen. Consider adding a skylight for more natural light exposure, or go for light bulbs that are “bright white”. Don’t go overboard with all shades of white, though. Consider breaking it up with darker counter tops or flooring.
4. Create large walkways
Particular attention should be paid the walkways of the kitchen. These include the entrance and the overall floor space. Cluttering these up or creating a small entryway will make a kitchen feel very claustrophobic, so make sure to open them up!
5. Create ONE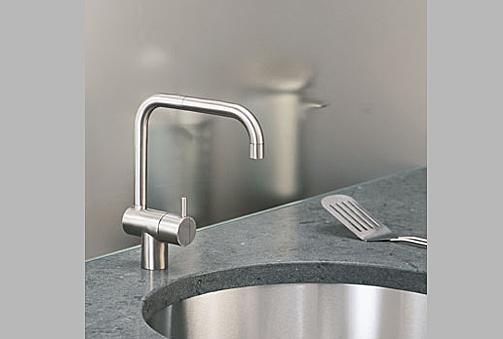 Focal point
Remember that clutter is your kitchen’s worst enemy. Small kitchens need to avoid clutter even in their very design. You can do this e4asily by simply creating one focal point of the kitchen. Whether it is a colorful back splash or a cutting edge sink, be sure to limit yourself to ONE point.
6. Tile the floor diagonally
Tile is still one of the most common flooring options, and can actually do wonders for small kitchens. When you are tiling a smaller kitchen, lay the tiles diagonally to create an illusion of length and width at the same time. Add interest not by creating a border with dark tiles, but by sprinkling just a few in with the lighter tiles to add interest and a bit of color. Bonus Tip: try off-white shades of tile and grout to combat stains!
How to: Replace Broken Tile
 Cracks in the tile are generally caused by the building settling, but can also be due to improper tile installation, the wrong kind of tile being used, or accidents. Whatever the reason, broken tiles are generally considered unsightly, and can even lead to more serious problems if moisture happens to get into and under the cracks.
Obviously, in most cases, you won’t want to replace the entire floor due to one or two broken tiles. Here is how to remove and replace the broken tiles easily.
Materials:
• Replacement tile
• Tile adhesive
• Grout
• Water
Tools:
• Grout Scraper
• Hammer
• Pry bar
• Safety glasses
• Trowel
• Grout float
• Sponge
• Small bucket
• Filling knife
- Scrape the Grout
 Working around the tile joints (seams), scratch out the grout using the grout scraper. You’ll be getting a pretty fine mess going, but you need to get as much of the grout out as possible. This will separate the broken tile(s) from the ones that are not broken and will make it easier to get a pry bar under the edges if necessary later on.
 - Break/Loosen the Tile
With the hammer, hit the tile a couple of times to loosen it from the surface it is adhered to. Depending on the size of the tile, you will probably have to remove it in chunks. Once you’ve broken it up, use the other side of the hammer or the pry bar to lift up the tile pieces. - Scrape Adhesive
Once you’ve gotten as much of the tile as possible removed, you need to get rid of the old adhesive. Use a scraper, filling knife or even putty knife to scrape it all off. - Clean the surface
To be sure your new tile properly adheres; you will need to at least dust off the surface. At best, try to clean the surface with a damp cloth and some mild soap. Wait until it is completely dry before moving to the next step. Do not use a wet cloth! Damp will pick up the dust; wet will get water under the adjacent tiles and cause a lot of issues later on. - Add New Adhesive
Use the trowel to apply the adhesive back onto the surface (just as the old stuff was.) The layer should be only about ¼ inch. - Set the Tile
Now place the new tile on top of the adhesive and press firmly in the middle, corners, and along the sides. Press many times and even wiggle the tile a little bit to be sure it is set firmly. - Re-grout
Now you can mix up your grout into the same paste consistency as the adhesive and use your grout float to smear it along the sides of the tile. Be sure the grout is getting into all of the seams around the tile – don’t leave gaps; fill up each seam completely! - Clean up
 Finally, you can use your sponge and bucket of water to clean all of the excess grout off the surface of the tiles. The sponge should be damp enough to pick up excess grout, but NOT soaking wet enough to alter the consistency of the grout in the joint.

