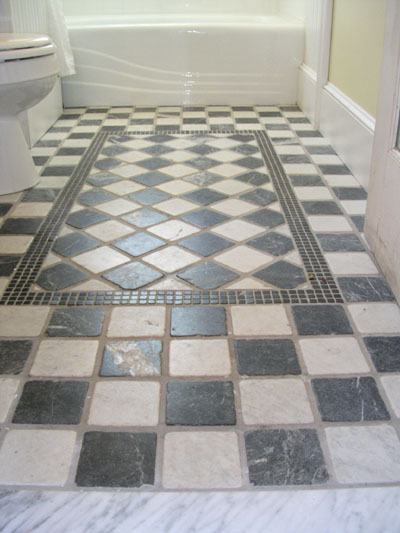
 As every owner of a linoleum bathroom floor knows, you can’t beat tile. It’s durable, fairly painless to install and beautiful when done right. To help you make sure your tile floor is in line with those standards, here’s the PlumbTile.com guide to tiling your unfinished bathroom floor.
Materials:
Tiles
Powdered thinset mortar
Tile grout
Tile spacers
Knee pads
Towel or sponge to wipe up grout
Latex additive
Tools:
Straightedge (5 feet or more)
Tape measure
Tile nippers
Mason’s trowel
Notched trowel
Rubber float
Tile cutter
Chalk line tool
Mixing paddle drill bit
Drill
Rubbing stone
1. Placing Tiles
Using your tape measure, find the center of the room along its width and depth. Mark these measurements on the floor with your chalk line. Where these lines cross, lay a tile whose edges meet at the intersection. From there, continue laying tile along one axis using tile spacers and a straight edge until you reach both walls. If the tiles don’t fit perfectly between the walls, measure out the last incomplete space to see how large your last tile can be. If it’s less than two inches, try using smaller tile spacers.

When cutting your tile to fit an uneven space, it’s best to place the cut tiles at the entrance to the bathroom, so that they slip under the door casing. If there is a bathtub in the room, also have the tiles be cut along it, inside of fitting perfectly to it. Lay your straightedge on top of the row of tile set down.
2. Spreading Mortar
Using your drill and the mixing paddle bit, blend your powdered thinset mortar with latex additive until it’s thinned out to the consistency of mayonnaise. Don’t make too much, as it can dry out, leaving it useless. Make enough to be used inside of 2 hours. After letting it sit for 10 minutes, use your mason’s trowel to spread a very thin layer on a 2×2 foot area next to the line of tile you have set out. Pile on more before it dries and use your notched trowel to spread it out over the area. Your tool should be at 45º and spreading the mortar evenly. Once it’s even, use the notched trowel to make straight lines across the whole surface going in one direction. Place as many tiles as you can on each section that will fit inside of the 2×2 foot layer of mortar.

3. Setting Tiles
Set a tile on the thinset mortar, following along the straightedge and also using tile spacers. Keep applying mortar using the instructions in step 2 until you’ve got a row of tile stretching from both walls. This is your starting row, and you can place the tile you’ve laid next to it using the mortar and it will be straight. You can use a T-square or an A-Square here to check for the squareness of your tile sets.
4. Cutting Tiles
When you reach a wall that needs to have cut tiles, measure how much waste you will need to cut off. Measure out the remaining space on a tile and mark with a pencil where the cut will need to be. Using a utility knife, score along the surface of the tile. Using your tile nippers, cut away at the waste space until you reach the score mark. Use a rubbing stone to smooth out the edges.
If you have a corner piece to cut around, put the tile up against it. Use a pencil to draw a straight line across the tile starting from one angle of the corner. Move the tile to the other side of the corner and draw another line so that they intersect. Score alone these lines and cut out the waste space.
5. Grouting
Let the tile and mortar set for 24 hours. Use your trowel to scrape off any mortar that peeks up from the joints or is on the tile surface itself. Mix yourself the grout with a slightly runny consistency. Place enough grout to cover half of a tile and spread it into the cracks with a rubber float. Start in the corners and move towards the center of the room, pushing the grout into the cracks from all angles.

After half an hour, test the consistency of the grout. It should be firm, with very little give. Once it’s set, use a damp sponge to wipe away any grout on the surface of the tiles, cleaning the sponge after every few swipes. Be careful here, it’s possible to disturb the grout or pull it up. Once you do your first pass, wait for the grout to haze over again and then use a new sponge to wipe up.
Unsure of what tile to use? Come to PlumbTile and see our expansive selection of designer and budget friendly tile for your kitchen, bath, outdoors and shower.
