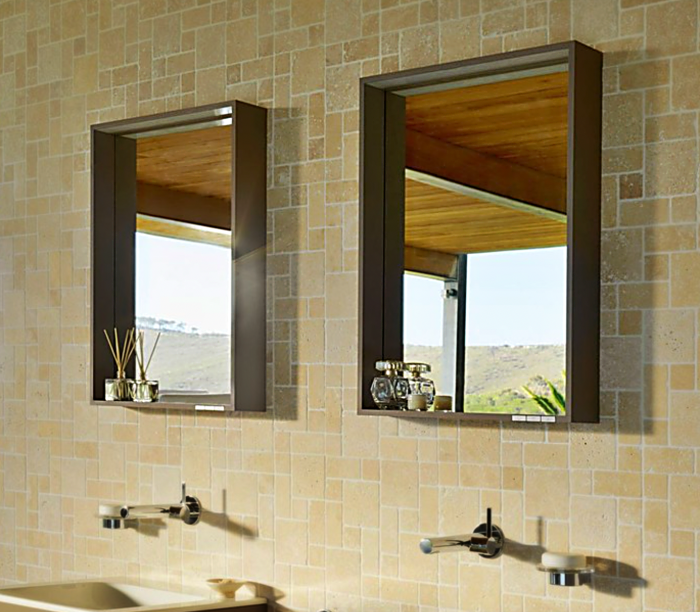
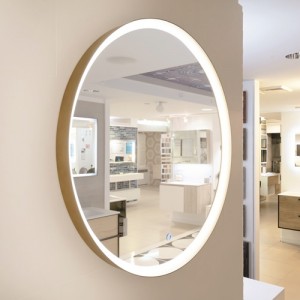
New mirrors are a great way to change a fundamental part of your bathroom. Other than utility, mirrors can also make a room seem larger, which is great if you live in a small apartment or condo. However, how these things are attached to the wall eludes most people, and since they’re very delicate and heavy, it’s mandatory to do it right the first time. That being said, it’s very possible to do it yourself, so let’s get down to it.
Materials/Tools:
Level
Drill
Flathead and round head screws
Felt backing
Stud finder
For Hanging Mirrors:
Mirror wire
Heavy-duty D-Ring picture hangers
Molly bolt anchors
For Mounted Mirrors:
2 or more J clips
2 or more L Clips
For all types of mirrors:
First off, mark on your wall with a pencil where the mirror will cover. Use a level to make sure these are even- a crooked mirror is hard to fix. Make sure the marks are at least an eighth of an inch away from the wall and any backsplash from a shower.
Hanging Mirrors:
Using a pair of 2-hole D-ring picture hangers, mark two-level positions about 1/3 of the way down the length of the mirror and drill pilot holes into the frame. Screw in the D-Rings firmly with screws, but don’t overtighten. Insert mirror wire through the two D-rings, and pull the length of it taut. Cut it and twist a knot by one of the D’s.
Measure the width of the traced outline of the mirror on the wall. Go in about ¼ of the way from each side and mark it in pencil. Relative to the position of the D-rings on the mirror, these should be a little higher on the wall print you’ve drawn of the mirror. Even if you tied very tight mirror wire, there will be a little slack.
Using molly bolt anchors, screw them into the drywall until their anchors spread out. These are permanent, so be sure before you screw them in. You should have about 1/8 of an inch of the screw exposed for you to hang the mirror on. With a friend’s help, place the mirror gently on the wall. You may want to put some felt along the bottom edge of the frame where it meets the wall, to prevent scuffing.
Flat Mirrors:
After marking the walls and finding the studs you’ll have to make sure the wall is flat. Take a long, flat piece of wood and center it on any bulges you can feel with your hand. Using it as a sort of seesaw, press on the end of the wood with your other hand. Then use a ruler to measure the gap between the wall and the other end of the ruler. If it’s bigger than an eighth of an inch you’ll have to flatten it or tamp it down with a mallet.
Take the J-clips and pencil mark a position along the bottom of where you want your mirror and at a stud. Drill shallow, pilot holes, no more than an inch, then screw in flathead screws and put felt covers so they don’t mar the back of the mirror. Do the same at the other stud within the mirror’s wall print. If your mirror goes over three studs, use the outer ones.
Using a level or ruler, measure directly above each J-clip and mark a quarter-inch above the mirror’s wall print. Drill a pilot hole into the stud, and then add felt pads along the top of the mirror.
Get a friend to help you angle the mirror into the J-clip, hold it there while you drill L-clips into the pilot holes, and tighten only enough to stop the mirror from shifting if you press against it.