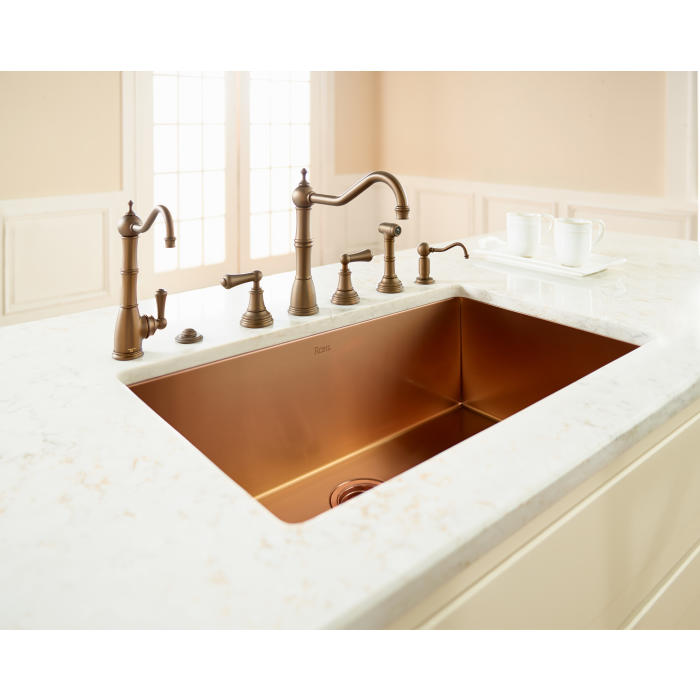
You are remodeling your kitchen and now it is time to install your new kitchen sink. It is easier than you think! Here is a step-by-step guide!
Cutting the Counter
- Place the paper template enclosed with the sink on top of the counter where you want the sink to be installed. Adjust the paper until it fits in the center of the sink base cabinet and has at least 3 inches of space in front and in the back of the sink. Trace the outline of the template onto the counter, using a grease pencil.
- Read the manufacturer’s instructions on the sink template to determine the overlap distance. The overlap is how much counter must lie beneath the rim of the sink. Measure the distance of the overlap inward from the line you drew on the counter. Draw a second line inside the first one. This is the line on which you will cut.
- Drill four holes into the counter, in the corners of the interior line of your marks, using the flat drill bit.
- Insert the blade of a jigsaw into one of the holes and begin cutting out the section of the counter that is inside the interior line. Have a helper support the section of the counter from below as you cut so it does not pull away and splinter the counter. Remove the cutout section from the counter.
Installing the Sink
- Knock out the faucet holes on the granite sink. Hold the sink vertically, with the top facing away from you. Look at the area where the faucet will be installed. You will find several outlines of circles with colored tape on them. Determine which ones you will need to knock out to install your faucet. Place a center punch on the colored tape on each of the holes you want to remove. Hit the punch with a hammer until the hole pops out. Clean the edges of the holes, using a hand file.
- Lower the sink into the counter to double-check its fit. Lift it out again once it has been determined that the sink fits in the counter.
- Set the sink on a flat surface with the faucet holes hanging just off the edge. Install the faucet by pushing the stems into the holes and tightening the bolts onto the backs of them, using a wrench.
- Roll a piece of plumber’s putty until it is approximately 1/4 inch thick. Press it around the sink drain. Press the strainer into place on the putty and turn the sink over. Place the washer and gasket on the backside of the strainer, turning them tightly to screw them into place. Turn the sink over. If putty has seeped out from around the sink strainer, remove it with a soft cloth.
- Hold the sink upside down and squeeze a line of silicone caulk around the perimeter of the sink’s rim. The caulk will help form a watertight seal around the sink.
- Lower the sink into the counter. Locate the sink clips on the underside of the sink and rotate them so they come into contact with the underside of the counter. Tighten them so they hold the sink securely in place, using a wrench.
- Wipe away any excess caulk that may have seeped out around the perimeter of the sink. Attach the water supply lines to the faucet. Attach the drain pipe to the sink. Turn on the water and test the sink.


