Is it time to update your kitchen sink but don’t know where to start in this process? Below is our step by step tutorial on installing kitchen sinks.
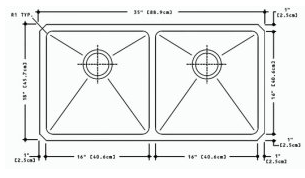
- Most kitchen sinks come with a template to trace onto your countertop. Your placement should be no further than 4 inches from the edge of the counter, and at least 2 inches from the back wall. Lay it down, and use 2-inch masking tape to outline the edges underneath the template, leaving an inch showing from beneath the template. Use a marker to trace the outline. If no template is used and you measure out the dimensions of your sink by hand, you’ll have a rectangle with squared-off angles. Most sinks aren’t shaped like this, so you’ll need to estimate the curvature of the corners. If you can, you may want to try placing your sink upside down over the outline to trace the corners accurately.
- At one of the front corners, drill a hole between 3/8 to ½ of an inch. From there, use a jigsaw to cut straight back to the far corner. Repeat on the other side of the sink. To prevent the cut-out part of the counter from falling as you cut the last side, use a block of wood longer than your sink and drill it into the inside part of the cutout. Once you’ve finished making your long cuts with the jigsaw, remove the cut-out piece using the scrap wood. Check the size of the hole with your sink, and trim as necessary.
- Lay your sink upside down on a padded surface. Roll some plumber’s putty into a ¾ inch wide line and wrap it around the underside of the drain. Attach the drain with its washers and gaskets and tighten by hand. Wipe away any excess putty with a soft cloth. Put a little pipe joint compound on the drain’s exposed threads and thread the locknut onto them. Use a wrench or pliers to tighten the components underneath the sink while holding the drain in place with your hand. While it’s still upside down, layout a thin bead of silicone caulk around the lip of the sink- this will seal it once you set it into the hole you’ve cut out.
Caulking the rim of the sink.

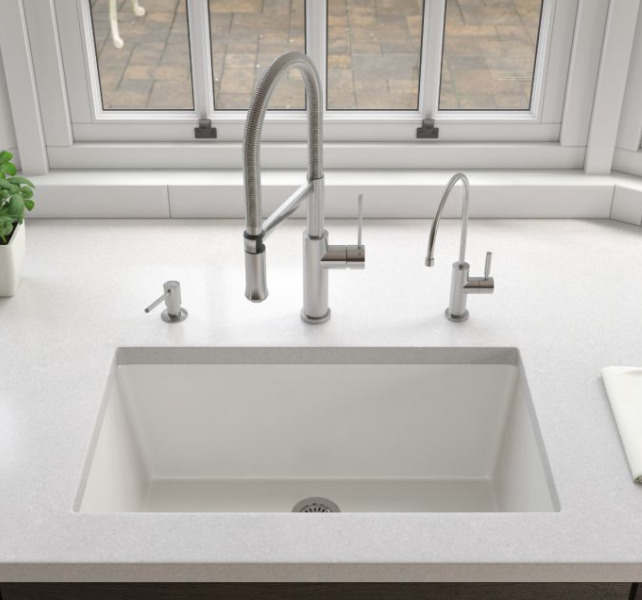
Install the faucet and its handles. If there is a pull-ou spray, check to see if you must insert it from under the sink or if it’s pushed down from the top.
- Remove the tape from the counter if you have not already. Wipe a clean damp cloth around the edge to remove any debris from the jigsaw. Set the sink gently into the hole, and make sure the lip of the sink is parallel with the edge of the counter. Connect the faucet to the water valves. Some sinks are kept tight with clamps underneath the counter. If yours has these, install them and follow the instructions that came with the sink. If caulk squeezes out from under the sink after tightening these, remove with your rag.
- Fit together all the parts necessary for connecting the sink drain to the waste pipe. Do not add any putty, cement, or pipe dope tape at this point. Check to see if the drain elbow will reach the waste pipe. If your P-trap is made out of PVC, use PVC cement primer around the ends of all PVC parts being joined. Once dry, apply PVC cement and assemble the pieces, hold tightly for 30 seconds. Tighten any nuts or washers once this is done.
Connecting the Drain
- Remove the aerator from your spout and turn on both water lines at full blast for about a minute. Once the system is fully flushed, replace the aerator. Check your connections for leaks.
Congratulation, you now have a new drop sink in your kitchen! As always, you can find any product we talk about installing at http://www.PlumbTile.com