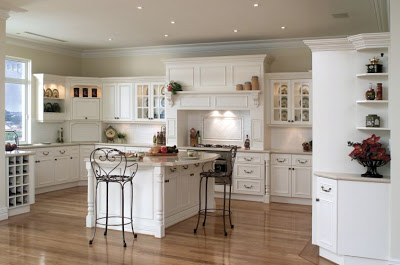
Crown molding can enhance the decor of any room in your home. With these steps, you can take your kitchen cabinets to the next level!
Tools:
Hammer and flat pry bar, used remove existing crown molding
Power miter saw, used to cut miter angles on crown molding
Pneumatic brad nailer and air compressor, for nailing up the crown molding
Steps:
1. Carefully remove existing molding using hammer and flat pry bar.
2. Hold two short 1x4s flat against ceiling, overlapping at cabinet corner.
3. Mark a line where the overlapping boards meet at outside corner.
4. Use a combination square to draw a line across one board connecting the inside and outside corners.
5. Stack the two 1x4s on the miter-saw table and adjust the blade angle to cut along the pencil line.
6. Measure across the cabinets from one inside corner to the next to determine the length of the crown molding.
7. Set the saw-blade miter angle using the 1×4 guide block.
8. Cut the left-hand miter joint, mark the crown molding’s length, then use the other guide block to set the saw blade and cut the right-hand miter.
9. Hold the crown molding against the cabinet and tight to the ceiling, then nail it to the cabinet using a pneumatic brad nailer and 1¼-inch brads.
10. Cut a mating angle on the next piece of crown, then apply carpenter’s glue to end of molding.
11. Hold the second piece of crown tight against the first piece, then nail it to the cabinets.
12. Repeat for the return piece of crown the goes back to the wall.
