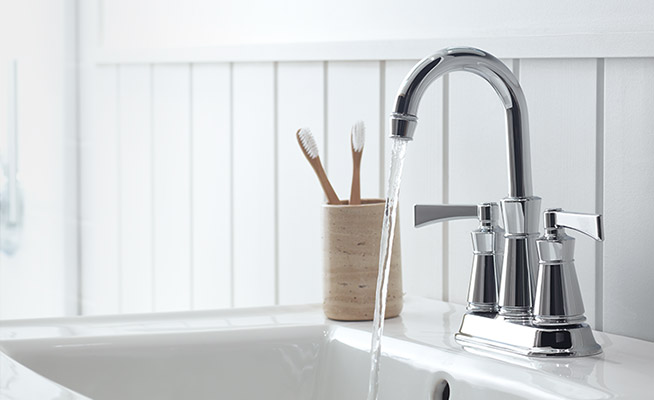
One of the most common types of bath faucets is a center-set faucet. These are available in a wide selection styles and prices, and are generally easy to install. The steps below describe how to properly install most common center-set bath faucets.
Measure the distance between the tailpieces of the faucet that you are replacing. Faucets are 4 inches on center up to 12 inches on center, so be sure to purchase the faucet that will fit your opening.
A WaterSense-certified faucet will help reduce water use.
Refer to the manufacturer’s instructions for the list of components, proper assembly, and maintenance of your new faucet.
Preparation
- If you have cultured marble or other composite sinks, it is recommended you use silicone caulk as plumbers putty may discolor the sink.
- Allow additional time to remove old faucets, fittings or pipes as corrosion and inaccessibility can make removal difficult.
Safety
- Turn off the water supply to help prevent water from escaping during the installation.
- If you have to work upside down under the sink, be sure to wear safety glasses to protect your eyes from falling debris as you install your new faucet.
Savings
- Installing the faucet yourself if a great way to save on the cost of your project.
- Consider a low flow faucet to save water and money on utility bills.
- If your old faucet is still in good working order, consider donating it to a local charitable organization, or recycle any metal parts rather than just throwing it out with the trash.
WHAT YOU NEED FOR THIS JOB:
TOOLS:
Adjustable wrench / slip-joint pliers
Basin wrench / RIDGID faucet and sink installer tool
Putty knife
Caulk gun
MATERIALS:
- Center-set faucet
- Bucket
- Rags
- Plumber’s putty / caulk
- Heavy towels
- Sink cleaner
- Penetrating Lubricant
- Flashlight
- Safety glasses
- New supply lines (2)
- Shut-off valves
Step 1: Turn off the water.
Remove all items from under the sink. Place a bucket, pan or rags under the work area. Use heavy towels to support your body if you are reaching into the sink area and under or through the vanity.
Turn off the hot and cold water supply lines at the shut-off valves beneath the sink. If there are no shut-off valves, turn off the main water supply. This is a good time to install stop valves as part of this project so you can turn off the water easily in the future.
Turn the faucet on to release the pressure in the water lines.
Step 2: Remove the old faucet
If you have to work upside down under the sink, be sure to wear safety glasses to protect your eyes from falling debris as you install your new faucet.
Remove the old supply lines and the mounting nuts in order to remove the faucet. Apply a penetrating lubricant if the lines or nuts are corroded or in a hard-to-reach position. Do not use a strong force to remove – be gentle yet persistent.
Lift the faucet fixture from the top of the sink. A putty knife can remove all of the old sealant from the top. Use a cleaner suitable for your sink type to clean the area.
Step 3: Seal around the lavatory openings with plumber’s putty or silicone caulk.
Apply a bead of plumber’s putty or silicone caulk around the footprint of the faucet
NOTE: Do NOT use plumber’s putty on cultured marble or other composite sinks since it will discolor the sink.
Step 4: Place faucet gasket
Assemble the faucet following the manufacturer’s instructions. Place the faucet gasket over the tailpieces so that it is between the sink and the base of the faucet.
Step 5: Set the faucet
The valves should fit into the hole spacing in the sink. Insert the faucet so that the base is parallel to the back of the sink and press the faucet down firmly.
Step 6: Hand-tighten the basin nuts
Thread each, alternating from one nut to the other to draw the faucet body evenly over the gasket. Do not tighten all the way.
Step 7: Center the faucet body
Measure or visually center the faucet body on the lavatory.
Step 8: Hand-tighten the basin nuts until they are snug
Finally from beneath the sink, screw the friction washers and mounting nuts onto the faucet tailpieces and tighten them with the basin wrench.
Step 9: Connect the water supply lines and check for leaks
Attach the supply lines to the faucet and angle valves. Wipe away any excess putty from around the faucet base.
Turn the water back on at the angle valves. Turn on the faucet and allow both hot and cold water to run for one minute. Check for leaks.
Install the matching pop-up drain (if supplied) with your new faucet.
[Source: http://www.homedepot.com/c/how_to_replace_a_center_set_faucet_HT_PG_BA ]

