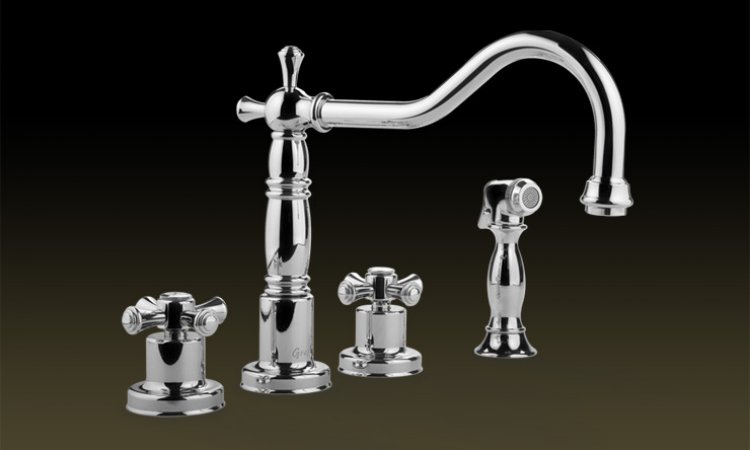
Adding new kitchen fixtures, such as a faucet, can be an easy and inexpensive way to update your kitchen. If you are a handy person you can easily install the kitchen faucet yourself. Just follow these steps and in no time you will have a fresh and updated kitchen. Before starting on this project be sure to read the instructions given from the manufacturer and take any requested actions.
What You Will Need
- An Adjustable Wrenches
- Slip-joint pliers
- A Bucket
- A Dishcloth
- New Kitchen Faucet and Side Sprayer
- Extra towels
- Plumber’s Putty or Silicone Caulk
Preparation
You will want to prepare your work area before beginning on the project. First, clear out all items under the sink and inspect the area where you will be working at. If there is an electrical outlet under the sink, turn off the power to ensure safety. Block the drain opening with a dishcloth and have the bucket ready to catch any water. Finally, position the extra towels over the edge of the cabinet so that it does not dig into your back. Now you are ready to install your new faucet and side sprayer!
Let’s Get Started
Turn off the water. You will want to turn off the water either at the shut off valve under the sink or at the main water supply. Doing this will ensure that your kitchen does not get flooded.
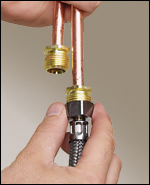
Connect Supply Lines to Faucet. First, connect the supply lines to the faucet tailpieces. Then, tighten the coupling nuts with the slip-joint pliers or a basin wrench.
Apply Sealant and Position Faucet. You will want to apply a quarter-inch bead of plumber’s putty around the base of the faucet. If your sink is made out of cultured marble, use silicone caulk. Insert the faucet tailpieces with the supply lines into the holes in the sink. Finally, position the faucet base parallel to the base of the sink and press down.
Screw on the Mounting Nuts. Screw on the friction washers and mounting nuts, from beneath the sink, onto the faucet tailpieces. Tighten the mounting nuts and wipe away any excess putty around the base.
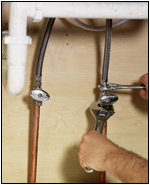
Connect Supply Lines to Shutoff Valves. Attach the faucet supply lines to the shutoff valves and tighten. For good measure tighten the nuts an extra quarter-turn with an adjustable wrench while holding the valve with another wrench.
Apply Sealant to Sprayer Base. Apply a quarter-inch bead of plumber’s putty or silicone caulk to the bottom edge of the sprayer base. Put the tailpiece of the sprayer base in the sink opening.
Screw on the Mounting Nuts. Place the friction washer over the sprayer tailpiece, if needed. Attach sprayer hose to the sprayer if you haven’t done so already. Screw the mounting nut onto the tailpiece and tighten it. Wipe away any excess of putty around the base.
Screw in the Sprayer Hose. Screw the sprayer hose onto the hose nipple on the bottom of the faucet. Hand-tighten the hose nut, then tighten a quarter turn more with a wrench. Turn on water and check for leaks.
 Now that you know how easy it is to install a one, let’s shop for a new faucet. Shop for faucets at Plumbtile.com.


