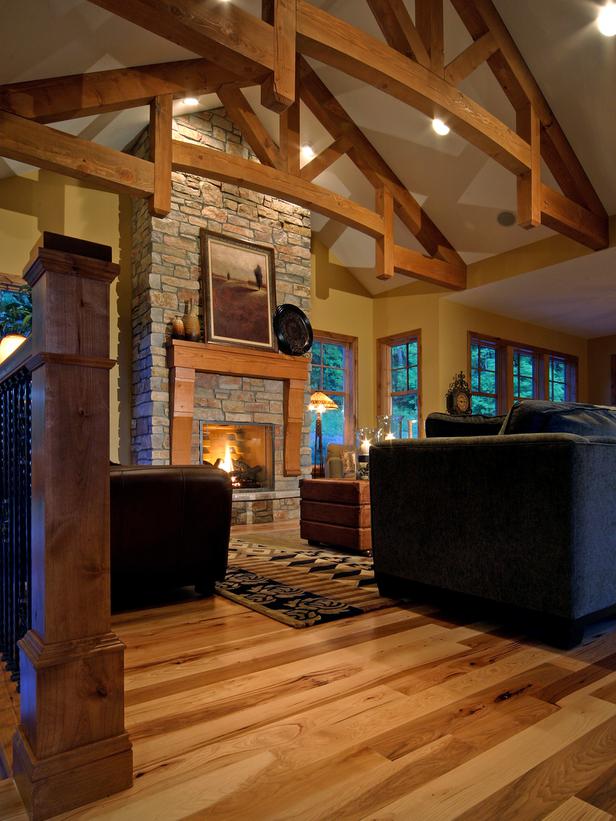
As homeowners search for new hardwood flooring, it’s clear what is uppermost in their minds: Authenticity. An appealing look or style is not enough. While consumers are certainly concerned about a floor’s durability and value, they want something of substance even more. They choose hardwood because it reveals much about their taste, values, and what is important to them. They want something authentic. If you are looking to install your own hardwood flooring, here’s how:
Step 1: Clean and Prep Floor
Before beginning the installation, make sure that your subfloor is clean and free of any debris. Take special care to remove any protruding nails or staples that may have been left behind from the previous floor . Vacuum, sweep and wash the floor to remove any dust . Make sure the floor has thoroughly dried after cleaning before continuing with the installation.
Step 2: Roll Out Tar Paper
Roll out sheets of tar paper over the clean subfloor and use a staple gun to affix the paper to the floor. The tar paper will form a moisture barrier, which will prevent any condensation from the floors below, which could potentially rot away at the underside of your new wood flooring.
Step 3: Prep the Planks for Installation
With any wood product, there will be natural color variations from piece to piece. This is a great asset to the look of the floor when the variations are consistently distributed across the space. A concern with engineered flooring, however, is that the colors may be quite uniform within an entire box, but have distinct tonal differences from one box to the next. If you were to install the floor by using all the planks from one box before opening the next, you run the risk of installing the floor with large mismatched patches of flooring. To prevent this, open multiple boxes of flooring and intermix the planks among the boxes to ensure a better blend of color as you install the floor tiles.
Step 4: Install Flooring
Start by running one row along the longest wall of the room. The floor planks are tongue-and-groove style, so they should slide right together. Manufacturers recommend that you install the planks with the tongue side against the wall and the groove side facing into the room. Use a pneumatic flooring stapler to drive staples through the groove at a 45-degree angle . Put a staple every 6 to 8 inches. If you are having trouble getting the planks to slide together easily, use a rubber mallet to force them together.
Continue running rows of flooring, using different length planks to create staggered seams. When you get to the other side of the room, you will have likely trouble fitting the flooring stapler into the last row or two of flooring because of interference from the wall. If this is the case, you will need to use a finish nailer and nail directly through the face of these boards. Keep the nail holes to a minimum by putting only one nail every 12 to 18 inches.
TIP: Use an awl (a small pointed tool) and a hammer to bury nail heads down below the surface of the floor. If they nail heads aren’t recessed into the wood, they will be dangerous to anyone walking over them in bare or stocking feet.
Step 5: Finish Flooring With Baseboard and Thresholds
To hide the seams where the floor meets the wall, attach a baseboard to the bottom of the wall with a finish nailer. It is easier to paint or stain the baseboard before it is installed. Use your miter saw to cut threshholds to the length of your doorway openings. Install them by simply laying them in their correct location and finish nailing them to the subfloor. As with the floor planks, use an awl to tap the nail heads down so they sit below the surface of the threshhold.

