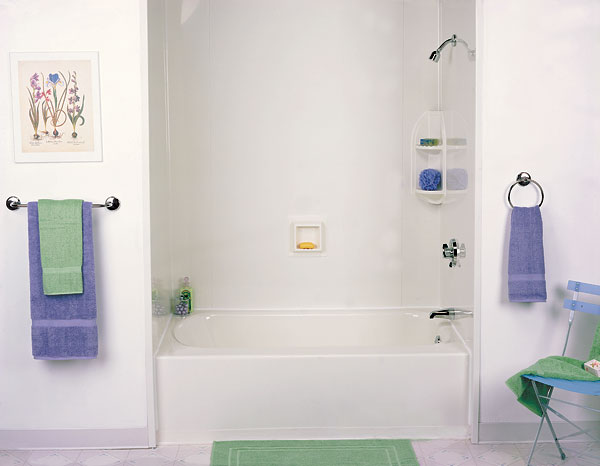
Installing walls for your shower may seem like a difficult project, but it is actually easier than you think. Successful shower surround installs shouldn’t take more than a day with the proper preparation.
If you already have securely fastened ceramic tiles, you can simply install the surround wall over them. Plastic and any loose tiles will need to be removed and the wall behind them needs to be prepared for the shower surround install by sanding smooth. All new shower surround installations will need a waterproof backboard as a wall surface.
Step 1. Prepare
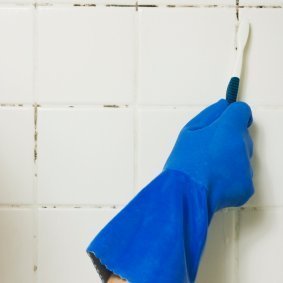
Before you get started on any projects involving water pipes, you should always shut off the water supply. As you are cleaning dirt and film from the wall surface, be sure to remove all fittings and soak them in water for cleaning. Once you have the shower surface wall cleaned, allow it to dry before continuing with the surround installation.
Step 2. Choose a Corner Panel
Test any corner panel to verify a proper fit. After the test fit, place the panel of the floor with the inside surface facing up and apply double-sided tape along all the vertical edges. Make sure the tape is pressure sensitive and 1 inch in width.
Step 3. Apply Adhesive
Using a good shower surround adhesive and a caulking gun, apply dots of adhesive up to 12 inches apart along the vertical side of the panel. Any rows near the edges should be back about 3 inches.
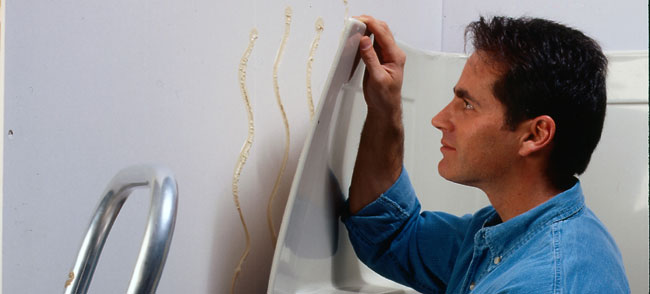
Step4. Installing the First Corner
Make sure you correctly position the corner panel onto the wall and press firmly. Unless the manufacturer’s instructions say otherwise, pull the panel back about 6 inches for a couple of minutes in order for the adhesive to set up. After you push the panel back in place, apply pressure along the sides, top and bottom. Ensure you are making good firm contact with the wall.
Repeat steps with the opposite corner.
Step 5. Pipe Outlet Measurement
Using a template (cardboard works best!) for the pipe openings (faucet and spout). Correctly measure the height from the bottom of the panel and distances between the fittings.
Step6. Test Fit
Using the template you created, verify the openings match the outlets.
Step 7. Cut Outlet Openings
Using the template again, mark all correct openings on the back of the panel for the fittings. To minimize chipping and have a clean cut, drill from the back of the panel on top of a wood block. Always test fit one more time before cutting the outlet openings with a hole saw.
Step 8. Outlet Panel Preparation
Apply pressure tape and adhesive to the last panel as you did in step 3. Apply pressure slowly side by side in order to mount correctly. Once you have successfully installed the outlet panel and apply the proper pressure, go ahead and install the remaining panels.
Step 9. Seal edges with caulk
Using a quality tub and tile sealant, use a caulking gun to close the outside edges of the panels and around fixtures. For a nice, smooth bead, keep a bowl of soapy water handy with a spoon. Use the soapy spoon to set smooth caulked lines.

Congratulations! You have successfully installed a new shower surround.
Make sure to avoid using the tub or shower for at least 24 hours, but consult the manufacturer’s instructions for further details.