
When you want to sell your house or just make it look and feel more modern and up to date the first thing you think of is the bathrooms. How can you make your bathroom the star of the party? Changing the fixtures will add that new look but it isn’t quiet done. Replace or recover your shower or tub, replace the vanity and mirror it is almost there still it looks a little dull no shine to it. Yep you guessed it Grout and Tile.
By picking the perfect tile you will make the room whole and complete the look you were going for. Of course once you are done with the 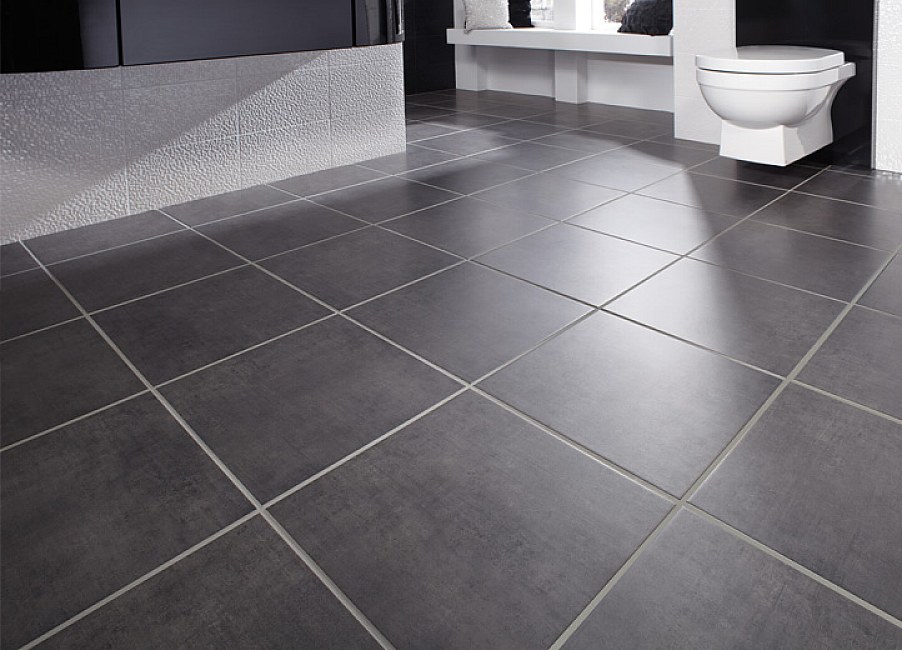 that task you now need to grout and one of the quickest way to make a beautiful renovation go horribly wrong is to not only pick the wrong grout but do a poor job of it. There are several ways to grouting that will make a large job seem small and the results are spectacular!
Once you have placed your tile and allowed the adhesive to dry overnight you will need to grout the tile. In a bathroom it is best to make sure you choose the best grout for the job. There are three basic types:
- Non-Sanded or Unsanded – The general rule for this type is that unsanded grout is made specifically for grout lines smaller than 1/8 inch wide.
- Sanded – Sanded Grout is used for any size grout lines 1/8″ and wider.
- Epoxy – Epoxy grout is the top of the line and best choice for any tile application.

Photo Credit: inlandcraft.com
Once you have picked out your grout you now need to pick the color. Grout comes in several colors so you can pick the one that best shows off the color of your tiles. Next you will need:
- Bucket
- Latex or water for mixing
- Grout sponge
- Rubber grout float
- Grout tool, example an old toothbrush
Now it is time to get to work! Make sure before you apply the grout spray sealer on floor tile Follow the application instructions on the label.
- Let grout set – Remix the grout after letting it set for 10 or 15 minutes. Add a little water if the grout is too thick to should be texture of mayonnaise
- Apply grout to the wall – Apply to the wall with upward strokes, in small 3x3ft areas, shaping the joints and cleaning each section before proceeding.
- Hold grout float at 45-degrees – Holding the float at a 45 degree angle it forces the grout into the joints making sure all the joints are completely filled.
- Shape the joints – Pull the rounded corner of the grout float over every joint to shape them.
- Remove excess grout with a sponge – Use a damp sponge to remove grout from the tile.
- Don’t use a wet sponge – Make sure your sponge isn’t dripping wet, if water runs down, the sponge is too wet. Let the grout harden slightly before you clean off the excess.
- Remove grout to make room for caulk – Remove grout from inside corners to make room for caulk.
Now step back and take a look at your beautiful room! Once you do one room you will walk through your house and see so many other projects to make your home your dream house.