
If you are thinking about laying a stone tile floor, there are a few things to consider before you begin. Naturally, you should have already measured the area where you will be setting the tile, and add 15 percent more to allow for cutting and fitting pieces around the edges. Then, think about whether or not your stone tile floor is going to be in a high-traffic area. If so, then make sure you choose the most hardwearing and easy to maintain stone. Also, try pick a stone with a fairly neutral colour so that it does not become the main focus of the area and you can easily change future wall colors and other decor. Always expect some variation in the colors, markings, and texture of Stone. That is the beauty of Mother Nature!
Step 1. Prepare
The very first step in laying the stone tile, is to make sure that the area is clean and dry. Then, start with the surface that will be under your floor. On new construction, a subfloor of concrete may be poured, providing a level surface. On a remodeled floor, the installation of a water-resistant backer board is necessary.
Step 2. Place and Set
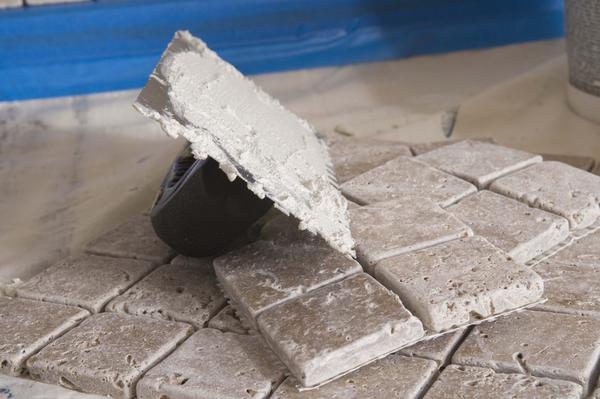
Now, you place and set the tiles. When setting the tile, set the first tile in a corner, and move on to the next one. Make sure the full squares are in the most noticeable area while the cut squares are along the wall or steps. You can use a toothpick to space the joints or just eye it. To set the full tiles after they are placed, use a product called “thin set”. Thinset first needs to be mixed, so to mix the thinset, put the paddle mixer in an empty bucket. Pour the thinset in the bucket and slowly add water. Mix the thinset until it is the consistency of pancake batter. Let it false set for five minutes, and mix again.
Once the full tiles that were placed and set, you can begin placing the cut tiles. Apply the thinset first with the smooth end of the trowel, and follow with the notched side. Work small sections at a time. Spread a good amount of thinset on the floor to make up for any irregularities. Adding or taking away thinset will ensure that all the tiles are evenly set.
Step 3. Seal and Grout
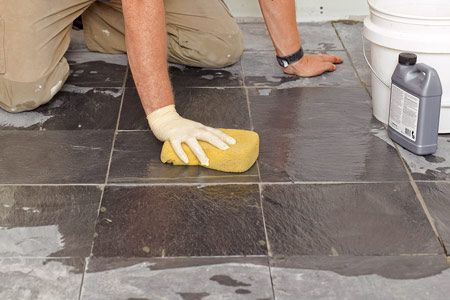
As you work, pay attention to the color and patterns of the tiles. Mixing them will greatly enhance the appearance of the floor. Once all of your tiles have been placed and set, let them dry. Once the tiles have dried, thoroughly clean them with water and seal them with a penetrating stone sealer. Spray the sealer onto the tiles and wipe off the excess. Limestone is a porous stone and the sealer will protect it from staining, especially when you begin to grout.
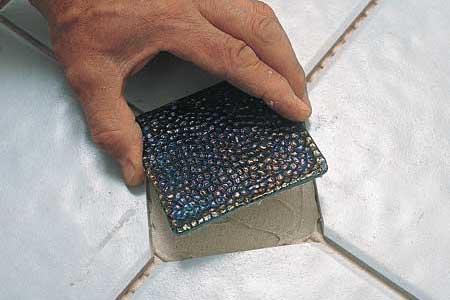
Pick a grout color that complements the tile you have chosen. You can either use colored grout or add liquid color to white grout. Mix the grout according to the manufacturer’s directions and spread it along the joints with a rubber float. Push the grout in, making sure that it gets all the way into the joint.
Step 4. Clean and Dry
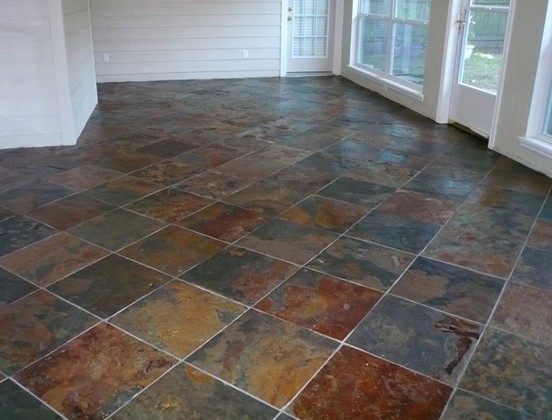
Wipe the grouted area with a sponge and clean water as soon as you get an area completed. This keeps the area clean as you work and the floor will already be clean when you’re done. Once all the joints have been grouted and the grout has dried fully, which usually takes at least a day, you are finished!
You will have to regularly clean the stone tiles as well as the grout. To clean grout, clean up any stray crumbs, dirt and other debris from the floor before you start cleaning the grout. There are many solutions that work well to clean grout. like oxy-clean, peroxide based cleaners, or commercial grout cleaners. For cleaning the stone tile floor, use a non-abrasive formula that specifies that it’s safe for natural stone and just clean with a soft sponge or mop. Now go enjoy your fabulous stone tile floor!
For your next home project, be sure to visit Plumbtile.com for ideas and all of your supplies!