Expecting guests over anytime soon? There’s no better time to give your guest a bath makeover, and a new faucet is a perfect place to start. Surprisingly, it’s simpler than you think. From start to finish, it can be completed in one afternoon. You’ll spend more time shopping for the perfect fixture than actually installing it.
Identify the type of faucet you already have
Before shopping, identify the type of faucet you already have. This will make installation easier. There are 3 types of faucets available today:
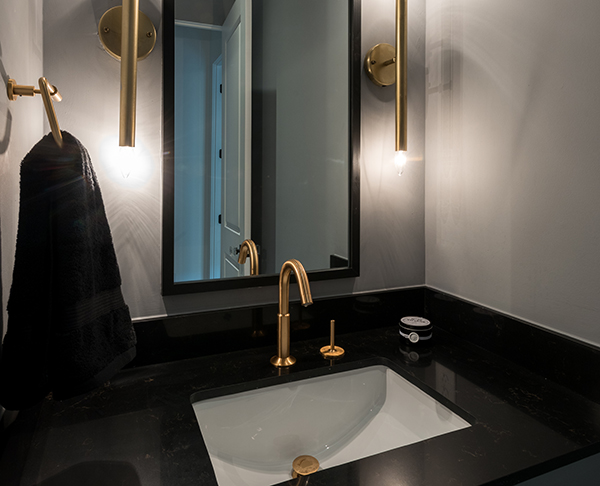
- Single hole: the center control typically not only serves as the spout but the mixing valve as well
- 4” and 8” Triple holes: the center device is usually just the spout with the mixing valves 4” or 8” from the center on each side respectively.
Plumbtile offers a large selection of faucets in a variety of styles and finishes. You’re bound to find one that exactly meets your needs!
Assemble the Parts
Assemble all of the parts you need, once you have your new faucet picked out. Double-check that you have everything and can complete the job without multiple trips to the hardware store.
Remove the old faucet
Begin by shutting off wall valves, then turn on the faucet to drain down residual pressure. With a bucket handy, use an adjustable wrench to remove flexible lines from the faucet. Drain remaining water into the bucket. Then remove the flexible lines from the shutoff valve.
Remove hardware
Beneath the sink, loosen the nuts and washers securing the faucet. Remove all other hardware, including the clamp bolt and drain rod extension. Lift the faucet out from the top. Don’t be surprised if you need to use a little extra elbow grease to lift it.
Install the faucet
Follow the manufacturer’s instructions when installing the faucet. When all components are installed correctly, tighten the mounting nut with an adjustable wrench.
Replace Waterlines
Use plumbers tape on all connections. Then, install the flexible water lines to the shutoff and mixing valves.
Reinstall drain rod
Finally, reinstall the drain rod to the extension, and tighten the clamp bolt. Double-check all fittings, then slowly turn the water on, ensuring there are no leaks.
You’re all done!
Visit www.plumbtile.com for a wide selection of products from top designers. We have just what you need for your next bathroom project!