Installing Ceramic Tiles
If your newest project includes installing a ceramic tile floor, don’t be intimidated. These steps will help you through this process with ease. Below is our step by step guide to help you obtain the floor needed for your home project.
- Plan the tile layout – First you will want to find the center point of the room by measuring the four walls for their midpoints. Next snap chalk lines from the midpoint walls to the opposite wall.
- Test your layout strategy – You will want to lay a single row of tiles in both directions without mortar to test the layout to make sure it will work properly.
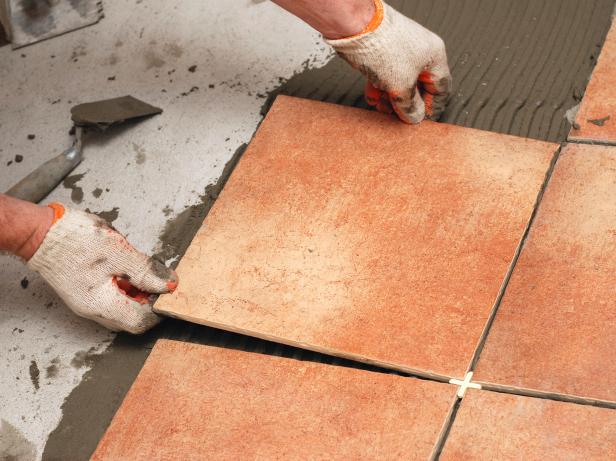
- Mix your thin-set – Place a thin-set mortar is the bonding agent used to attach the tile to the backer board or concrete subfloor. Use a large bucket and a drill with a mixing paddle. Clean the mixing paddle promptly so the mortar does not harden on it. Test your mortar and begin laying tile, comb your thin-set using a trowel, continue to lay your tiles.
- Make sure all tiles are level and clean. And choose the proper equipment to measure and cut tiles properly. Improper measurements can distort your layout.
- Insert spacers between the tiles – Once you have laid out your tiles place a spacer adjusting as you go. This will prevent the tiles from moving.
- Tips – Porcelain floor tile always should be installed using a polymer modified thin-set to achieve the appropriate bond between the tile and the substrate receiving the tile. Always make sure mortars can stand for at least ten minutes. This will allow the chemical to fully set and activate. If you do not allow this you could disrupt the setting.
- Your final steps will be to remove all the spacers and apply the grout. Make sure the grout is spread throughout the tiles. You will wat to make sure to clean the excess grout from the tiles. And then seal the grout. Once all of this is done you will want to make sure to allow proper drying time to maintain the tiles integrity.