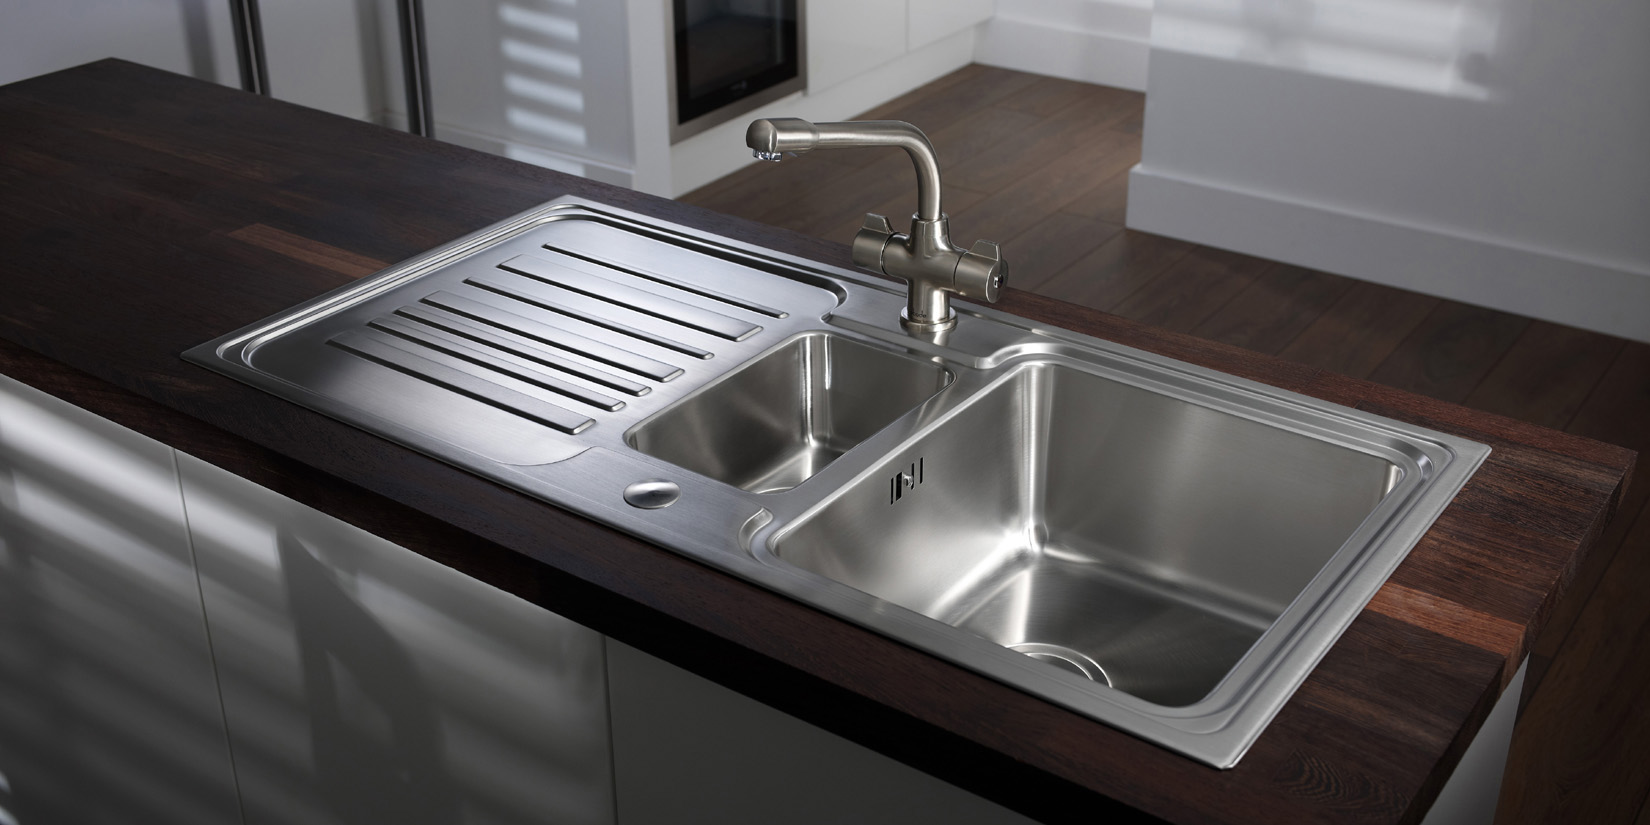
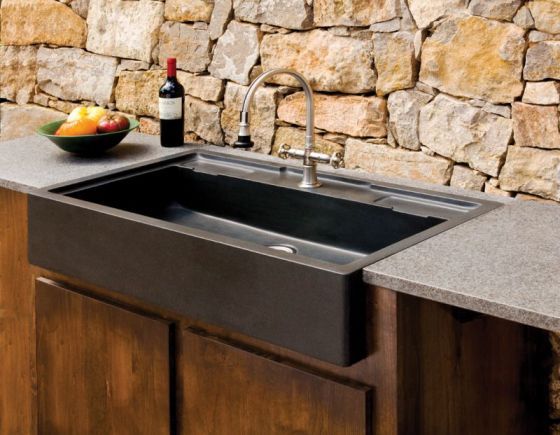
Your shiny new sink, along with a new faucet and countertop, will jazz up your kitchen as much as new flooring and appliances, and for a lot less money.
Before you start the installation process though, make sure you have all the measurements you need to connect the sink to the drain including the inside the pipe fittings and how much space there is underneath your sink.
Now you’re ready to go:
Step 1 – Map out the location on the counter’s back edge
Use a template or trace where the sink is to go centering it within the cabinet space. The easiest way to mark the countertop up if you don’t have a template is to use a series of marked points then join them all up.
Step 2 – Draw lines on the counter
Trace around the sink and drill some holes inside each corner. You’ll probably use a half inch drill bit.
Step 3 – The Jigsaw blade
Put on your safety goggles if you’re not already wearing them and saw from the front to the back on each side. Get an extra pair of hands to hold up the piece you’re cutting and then cut the front and back sides. Check the fit, then trim if needed.
Step 4 – The faucet
You want to be able to use water in your sink so: set the sink on a padded surface upside down. Feed the faucet’s supply tubes. Make sure before you tighten things up too much that the faucet can swing across the sink.
Step 5 – Now comes the strainer
This will help prevent the gunk. Put a hefty amount of plumber’s putty under the lip of the strainer and push it up through the sink’s drain hole. Hold the strainer and tighten with some pliers but remember to tighten the slip nut that attaches to the gasket by hand.
Step 6 – Put the sink in place + connect the water supply
Now comes the exciting bit. Put a bead of silicone caulk around the underside of the sink’s lip. Turn the sink right side up and set it into the hole. Connect the faucets, then the sprayer.
Step 7 – Drain connection
Assemble the drain connections under the sink. To do this you’ll need to cut and dry-fit some PVC pipe, clean the cut ends with a utility knife and then coat them with PVC primer. Have a tea break and let it dry. Now swab PVC cement on both ends, push the pieces together and hold for 30 seconds. Hand tighten all threaded connections.
Step 8 – Dishwasher drain
Connect the dishwasher drain line to the tailpiece. Tighten the hose clamp with a screwdriver. Remove any excess putty from the strainer. Check for leaks coming from the faucet along all paths. Tighten any nuts if needed a little at a time. Fill the sink with water (so it’s heavy) and leave it overnight – next morning the sink will be ready to use.
Step 9 – Give yourself a big pat on the back!
You deserve it – enjoy your new sink.