Finding the perfect new bathroom fixtures are only half the battle, the next step is getting your old hardware out and installing the new hardware to complete your updated look. While the task may seem daunting, this step by step guide will walk you through from beginning to end, and help you get the new polished look you want in your bathroom.
Step 1:
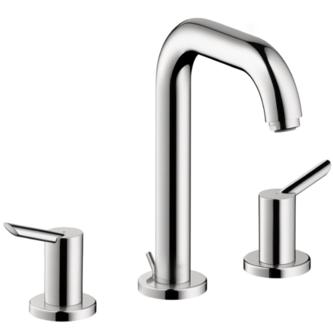
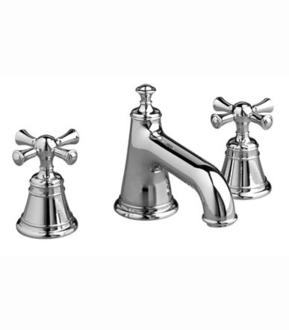
Pick your faucet. If your sink already has a single stem faucet might be wise to stick with that style, and same for three stem systems. That way we avoid having to drill any holes in porcelain.
Step 2:
Turn off the water! This one is important to avoid a puddle in the middle of the bathroom floor. Under your sink there are two knobs, one for hot water and one for cold, make sure both are off and then open the faucet to let any built up water run out.
Step 3:
Remove the old faucet. Disconnect the water supply lines (which should now be empty of water) from the faucet. If you are going to replace the supply lines, now is the time, and you should also disconnect them from the shut off valve. If not, skip that step. Remove the faucet and clean the holes in your sink with rubbing alcohol.
Step 4:
Figure out if you have a top mount or bottom mount faucet. For top mount, continue to step 5, for bottom mount, continue to step 7.
Step 5:
Put a bit of plumbers caulk around the base of your faucet and ease the faucet into place. Press against the caulk to ensure a good seal.
Step 6:
Head under the sink. Install the washers and mounting nuts onto the tail pieces of the faucet above. Tighten these by hand. Align the faucet with the back of the sink, and tighten the nuts with pliers or a wrench. Wipe away excess caulk.
Step 7:
Head under the sink, and hold the faucet in place. Install the washers and mounting nuts, tightening them by hand. Align the faucet with the back of the sign before tightening the nuts with pliers or a wrench.
Step 8:
Put some caulk on the escutcheons and screw them in place.
Step 9:
Install the faucet handles, hot usually goes on the left and cold on the right. Wipe away extra caulk and you are all set!
Step 10:
Attach your supply lines, turn on your water and enjoy your newly updated bathroom!