Homeowners have a wide range of choices when it comes to shower stalls. Some are pre-fabricated (already put together in a kit) or all the components can be purchased separately to create a custom designed shower. Just check out our website at www.plumbtile.com. One thing to keep in mind is that with pre-fabricated kits it may be difficult to get all the pieces through an existing door (they would work absolutely fine though in a new construction area).
So, you’ve taken the plunge and are now ready to install that new shower – right? Here are some tips to follow that will ensure a successful project. First things first: Have on hand some bottles of water (the reason will become clear if you keep reading), locate a willing extra pair of hands (many hands make light work and this project is definitely not one you want to tackle yourself) and turn off the water valve.
Location
Naturally the shower has to be located so the shower pan fits over the drain but locating the stall in the corner of the room adds structural stability and having the entry to the shower opposite from the bathroom door gives easy access to the shower. It will also help keep the moisture in the bathroom and not in the rest of the house.
Installation
- Install the shower pan so it fits neatly over the drain.
- Take measurements using a good tape measure to know where to make any cuts in the tiles or panels where the faucets and showerhead are going to go.
- You can create the holes by using a hole saw, a variable speed drill, or call on a friend who has experience in this area to do the cutting for you.
- Install the panels or place the tiles. Start from the bottom and work your way up.
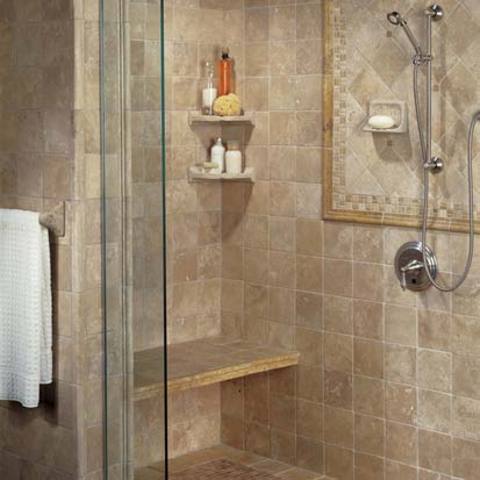
- Connect the faucets being sure to connect hot to hot and cold to cold (usually they will color coded red and blue or have H and C on them). Then connect the showerhead. Now you can add things like a safety rail, a bench (if desired), and holders that are not built in to your design.
- Use caulk all around which will create a water tight seal and drywall around the edges to make it fit in your existing space.
- Make certain that everything is secure then turn the water valve back on.
- Test the connections (slowly at first) to make sure the faucets are leak free.
- Congratulations! You’ve done it. Now you can take a well deserved shower! Be sure to thank your helpers for their hard work – maybe take them out for a nice meal or have a pizza party (after all, you’ve got a good reason to celebrate!).