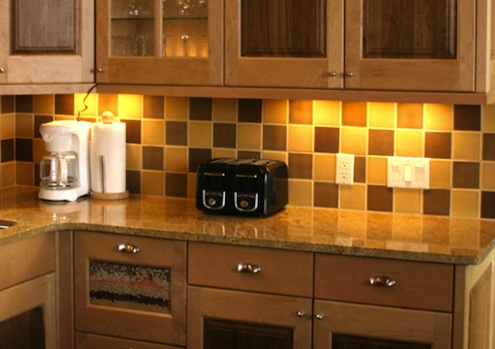
Installing under cabinet lighting can make your projects in the kitchen so much easier. Under cabinet lighting also makes your kitchen look much nicer. There are a couple of ways you can do this; you can use a Plug-in or a Hard-wired under cabinet lighting unit for the kitchen.
How to install under cabinet lighting in the kitchen will be a lengthy process if you are using the hardwire method. The plug-in installation is quite simple. How to install a plug-in unit, make sure to have a plug in near by, attach the unit to the upper kitchen cabinet and plug into the outlet. This process is the easiest to install, but you will have the cord sticking out. A more permanent solution you may want to hard wire you’re under cabinet lighting.
Installing Under cabinet Lighting:
Step 1: Make sure to shut off the Power to your kitchen:
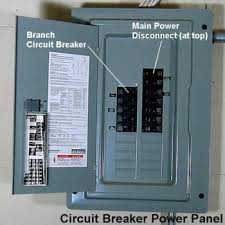
Shut off main electrical power to the kitchen. After you have completed this task, check to make sure the power is off, by plugging a lamp into the outlet. If it doesn’t turn on you are good to go!
Step 2: Tap into Your Existing Receptacle:
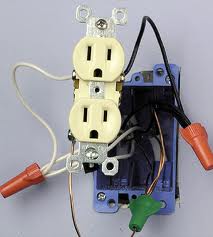
The easiest way to install under cabinet lighting is to tap into a nearby receptacle. If the backsplash is removable, remove it and cut into the wall above the countertop. You will need a drill to drill into the stud so you can reach the electrical cable.
Step 3: Remove Backsplash:
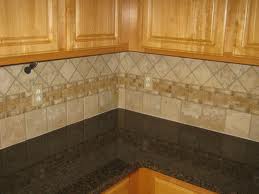
If the backsplash is not removable then you will have to cut into the drywall so this will add time to the project. Patching the walls and the drying time will add more to your project. So if all possible try to remove the backsplash in the kitchen first. Make the hole that you need as small as possible so the fixture will cover it. You should have 16-18 inches of cable to make sure you have enough. Strip off the cable sheathing so you have 8 inches of cable to work with. Try to keep the cutting to a minimum. You don’t want to cut to deep, because you could hit the plumbing. You want to get the cable that it can come out of the wall inside the cabinet, so you don’t have cable sticking out.
Step4: Cut the Whole for the Switch:
Cut the whole for the switch; use a remodeler’s box. Install the box; pull the cable for the switch, leaving 18 inches of extra cable.
Step 5: Run the Cable:
-Run the cable, start by putting the lights in place. Follow the instructions on the box.
-Pull the cable through the holes in the fixture and secure the cables with a cable clamp.
-Screw the fixture into place.
-Connect the wires from the fixtures to the wires from the cable. Connect the colors to each other. Position the wires so they lay flat at the base.
-Do not pinch the wires when reattaching them to the base to the main housing. Finish assembling the fixtures.
Remember there are two cables to the unit one that brings the power to the switch and the other to the power. Begin by splicing the white wires together from both of the cables.
Attach the black wires from each cable to the terminals on a single-pole switch.
If it’s a metal box connect the ground wire to the switches ground wire.
Splice the white wires and the black wire together using the existing power supply cable.
Make sure to use the wire connectors.
You can now turn the power on and check out your new Under Cabinet Kitchen Lighting!!!
Go to Plumbtile.com. for all your kitchen needs!!