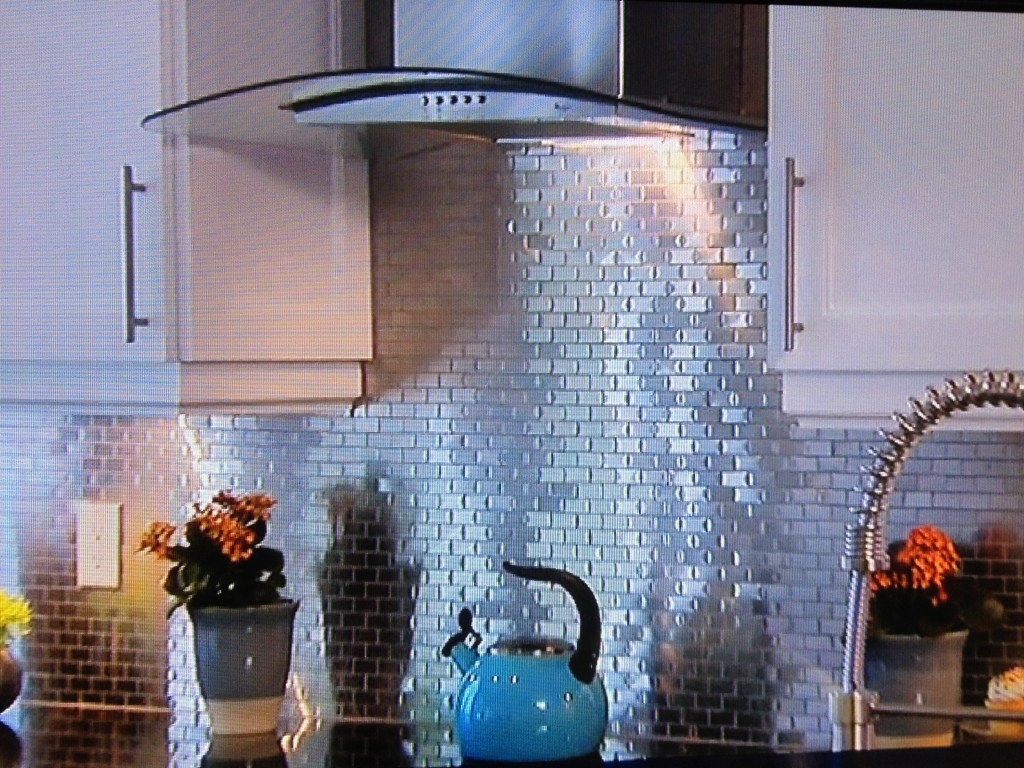
The luster and shine of steel, brass, copper and chrome are not just for the ceiling anymore! Metallics go with every design trend and are now fashionably showing up on walls, cabinets, backsplashes and more. Adding a tin tile backsplash to your kitchen will add a whole new dimension to its style! Let’s not forget that it’s also durable, lightweight, fireproof, and easy to clean. Here are a few simple guidelines for installing yours:
Step 1. Prepare
The first step to installing tin tiles for a kitchen backsplash is to measure the area of the kitchen where you want to install the tin tiles. Tin tiles come in several different sizes. Generally, you can find tin tiles in 3 x 6 12-inch panels and 24-inch panels. There are different sizes available, but these are the standard sizes you will find. Then, choose your style, as mentioned before, there are several designs and colors to choose from. However, tin panels that are primed can be painted to a color you want.
Make sure you protect your countertops before you work on your backsplash. You can use a cloth or old newspaper to cover the counters. Next, you want to clean the area where you will install the panels. Use a grease-cutting cleaner on the wall to remove any grease, oil and dust particles so that the tiles will adhere to the wall properly. Then, just let it dry for a few minutes.
Step 2. Make a Layout
Now, you can then start laying out the kitchen area where the panels will be installed. With the chalk line, draw a grid to help guide you as to where you will place each panels. By doing this, the tin tiles will result in an even layout. It’s easiest to begin at one corner of the kitchen wall. With chalk, draw a grid to help guide you to where you will place each panel. This will help you put the panels evenly and strategically. lay out the tiles on the floor to give you an idea of how it will look like and which panel will go where. The edges can be quite sharp, so always remember to wear heavy-duty gloves when handling the tiles.
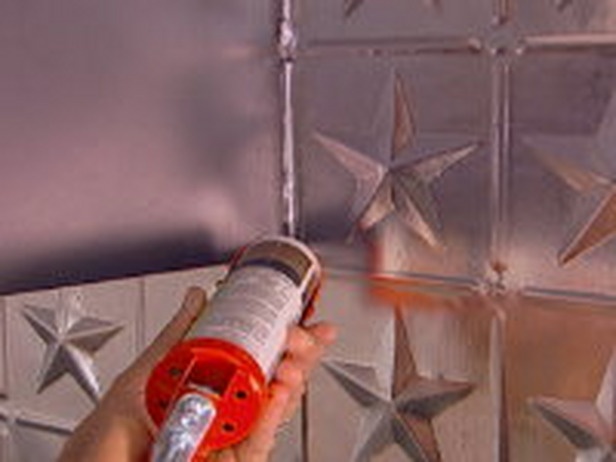
Step 3. Apply
Apply construction adhesive to the back of the tiles according to the manufacturer’s specifications. Install the first row of tiles then move on to the next, overlapping the panels and be sure the tiles overlap away from the main viewing area. Use full tiles for most of the backsplash to limit the number of cuts you will have to make. Use tin scissors to make any extra cuts to the tile. Then, Lay a bead of caulk on all of the seams according to the manufacturer’s instructions and smooth the caulk with your fingertip. Remove most of the excess caulk with a damp cloth.
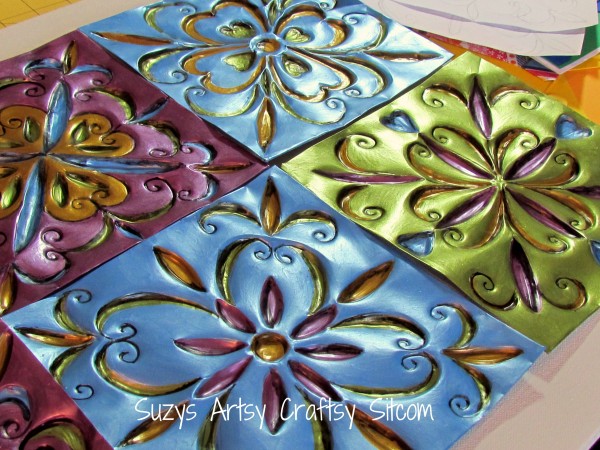
Once that’s done, the panels can then be painted or left unfinished in bright tin, depending on your style. If you choose to paint them, use a primer that will adhere to metal, and then finish them with an oil-based paint. If you want to leave it unpainted, coat the tiles with clear lacquer. Let that dry, and then you are ready to start showing off your awesome new kitchen!
For all of your kitchen needs, check out Plumbtile.com.