
You do not have to be too handy of a handyman to fit your new tub. Just follow these simple instructions and you will be on your way to that first relaxing bath.
Before Beginning
Plan, plan, plan. The first key to success with any DIY project is to plan out every step in order to make sure you have all of the supplies necessary and that everything is done in the proper order.
If you have decided to fit the new bath in a different place than the old one you will need to alter the pipework before hand. You may need to install new 7/8 in. supply pipes and spurs to the existing runs.
Measure out and draw for your reference the bath, piping, and bath waste positions.
1. Attach the Feet
Turn the bath tub upside down, while still in its packaging. Leaving the packaging on helps to prevent scratching. Attach the feet according to the instructions that came with the tub. It is important to read the instructions specific to the tub for this step of attachment. Be sure to tighten and lock the feet in place. The feet and leg height may need to be adjusted to suit an uneven floor after installation.
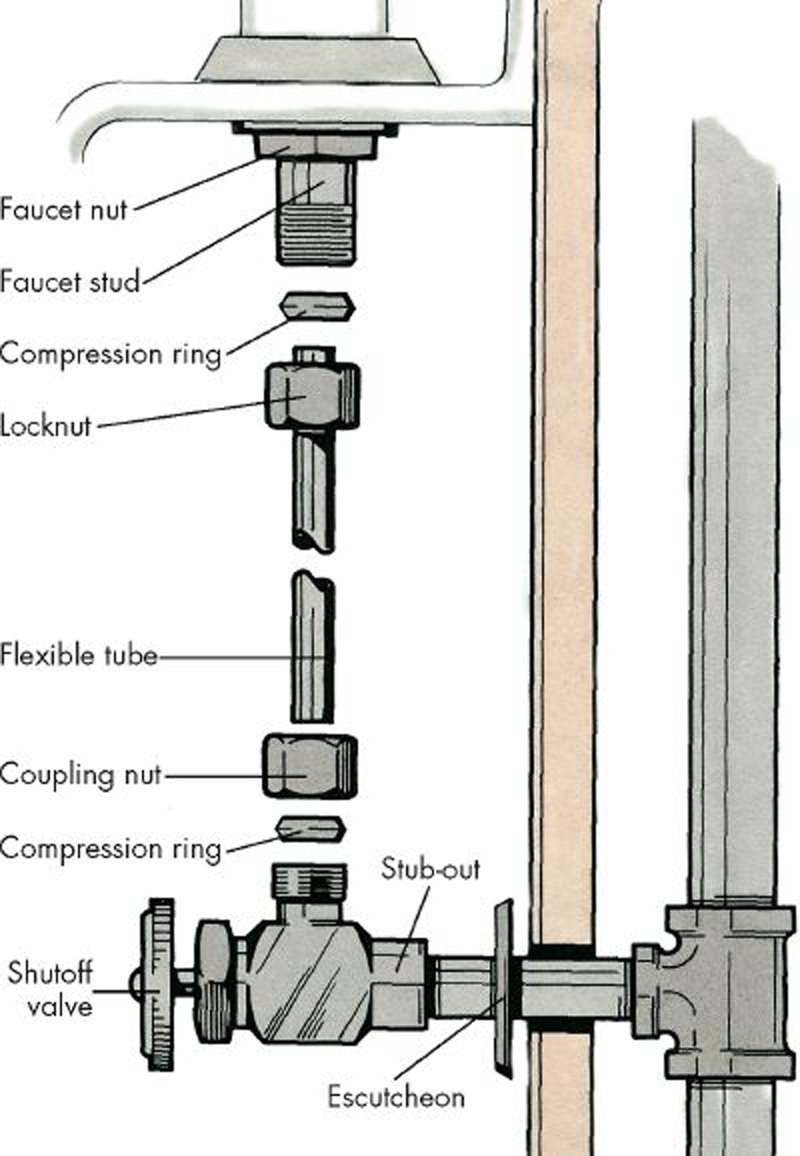
2. Fit the Taps
It is important to do this step before the bath is in place, because it will be very hard to fit the taps afterwards. Stick a sealing gasket over the tap/mixer tail. Now stick the tap/mixer tail through the hole. The gasket should be between the tap and the bath in order to add a waterproof seal. Next, slip a top hat washer over the tail and then fix the tap/mixer tap body to the tub by tightening the back nut onto the tail. Now connect the 7/8 in. pipe tap connector.
3. Fit the Waste and Overflow
For this step you must figure out whether the bath you are fitting has a compression unit or a banjo unit. A compression unit is fitted onto the trap itself whereas a banjo unit requires that the overflow section be fitted before the trap.
Banjo Unit:
First attach the overflow pipe to the banjo unit’s inlet, then put the washer seal over the overflow grille. Stick the overflow boss through the overflow hole from underneath the bath and then screw the overflow grille on it. For the waste outlet, slide the rubber washer over the tail and then put this up through the waste hole. Next, screw the waste outlet in place while holding the waste fitting. Wrap PTFE tape around the end of the waste fitting and then screw the bath trap nut into this end of the waste.
4. Level the Bath
Draw a straight line along the wall next to the bath with a level to help guide the leveling of the bath. Adjust the height of the bath by lengthening or shortening the legs.
5. Ensure Support for the Bath
Keep in mind the amount of weight the bath should be able to hold – both the weight of the water and your body weight. Ensure that the floor beneath the bath in strong enough to support this weight. Precaution should be taken to distribute the weight beneath the bath properly.

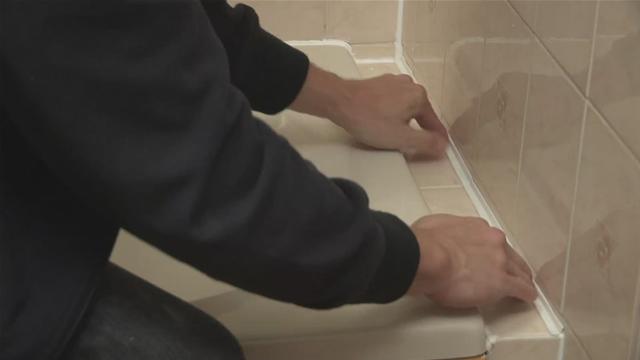
6. Seal the Bath
It is very important to properly seal the bath in order to prevent water damage later on. Rid the wall and tub of dust and grease. Apply sealant cautiously from the corner outward. Wipe sealant with a damp cloth and run a wet, soapy finger along the fresh mastic. This helps to ensure that the sealant is touching both surfaces and dries with a nice round shape. Let the mastic dry for at least 24 hours before using the bath!
If you are in the market of updating your bathroom with a new bath tub, check out Plumbtile today for the best deals!